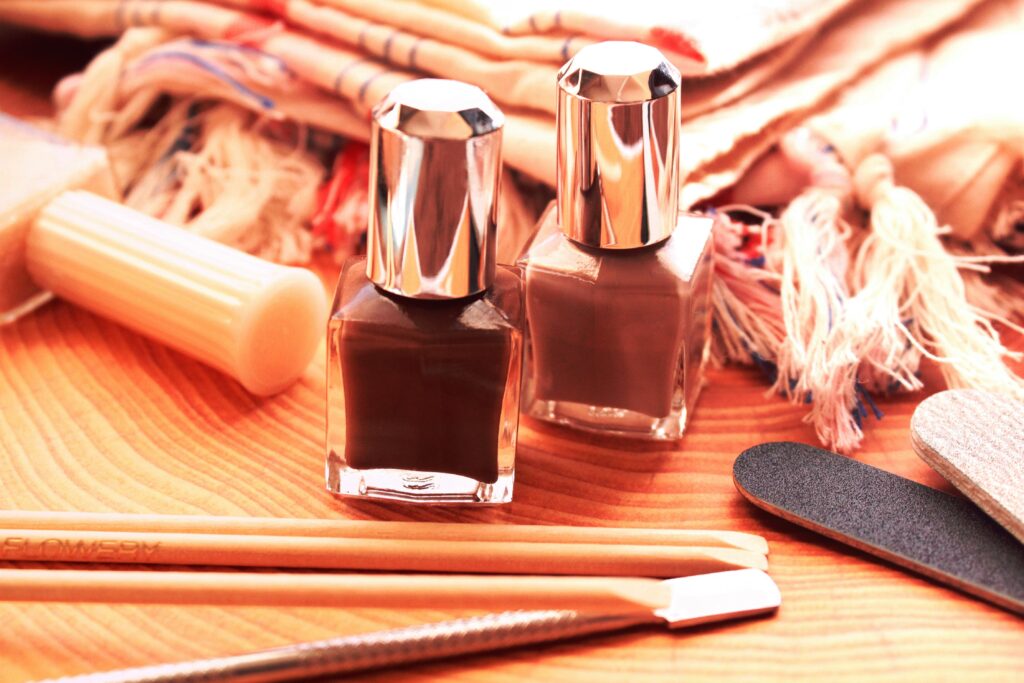
How to Make Your Pedicure
Last 3 Weeks
Most pedicures fail early for the same two reasons: oil or moisture on the nail surface before polish is applied (preventing adhesion), and no topcoat maintenance after the first day (allowing micro-cracks to develop into chips). Fix both, and three weeks is a realistic expectation.
The three-week pedicure is not about applying more coats. It’s about the 10 minutes of preparation you do before the first coat touches the nail, and the 5 minutes every few days you spend maintaining what you’ve built.
There’s a persistent belief that pedicure longevity is primarily about the polish brand or whether you use gel. It isn’t. The difference between a pedicure that chips on day five and one that looks intentional at day twenty comes down almost entirely to surface preparation and post-application maintenance — neither of which requires any special equipment or salon products.
This guide starts with the reasons most pedicures fail early, works through the preparation and application sequence that prevents those failures, and then covers the simple maintenance habits that extend results to three weeks and beyond.
Why Most Pedicures Don’t Last a Week
Understanding the cause is more useful than applying more product. These are the six most common reasons pedicures fail early, roughly in order of frequency:
The single most common cause of early peeling. Any oil — from your skin, from a cuticle product, from lotion applied before polishing — creates a layer between the nail plate and the polish that prevents adhesion. Polish applied over an oily surface will peel away cleanly within days, taking every layer with it. Wiping the nail with a cotton pad soaked in remover immediately before the base coat eliminates this problem entirely.
Thick coats take significantly longer to cure all the way through, remain slightly flexible for extended periods, and are prone to denting and peeling under pressure. Thin coats dry faster, cure harder, and adhere better than thick ones. Two thin coats outperform one thick coat every time — this is true regardless of polish brand or quality.
The tip of the nail — the free edge — is where chips almost always begin. Running the brush across the very tip of the nail with each coat seals the edge and prevents moisture, friction, and daily impact from working their way under the polish. Skipping this step leaves the most vulnerable part of the nail unprotected regardless of how many layers you apply over the surface.
Water causes the nail plate to expand slightly. Polish applied to a hydrated, expanded nail will crack and peel as the nail dries and contracts back to its normal size. This is why pedicures done at the end of a long bath tend to chip faster than those applied to dry nails. Allow at least 10 minutes after any water exposure before beginning polish application.
The initial topcoat hardens and becomes brittle over days of wear. Without a fresh coat every few days, the protective layer develops micro-cracks that quickly become visible chips. A thin refresh coat applied every three to four days costs five minutes and can extend pedicure life from one week to three. This is the single most impactful maintenance habit available.
Hot showers, long baths, and extended time in pools or the sea all accelerate polish wear significantly. Hot water softens the polish and causes it to expand and contract repeatedly, weakening the bond. Keeping showers reasonably short, applying a topcoat refresh before known water exposure, and avoiding very hot baths extends the result meaningfully.
Our anklets are waterproof and tarnish-resistant — designed to stay on through every shower, swim, and topcoat refresh between now and week three.
Shop Anklets →The Preparation That Makes Everything Else Work
Done correctly, preparation takes about 15 minutes and determines the lifespan of everything that follows. For the complete 10-step spa pedicure routine, see our at-home spa pedicure guide. The steps most directly relevant to longevity are:
Any remaining polish residue prevents the new base coat from bonding cleanly with the nail surface. Use an acetone-based remover — it dissolves polish more thoroughly than acetone-free alternatives. Hold a saturated cotton pad against each nail for 5 seconds before wiping rather than rubbing immediately.
Check: Drag a clean cotton pad across the nail after removal. If any colour transfers, repeat the process on that nail before continuing.
File in one direction only — back-and-forth sawing creates micro-splits at the nail edge that chips begin from. Shape toenails straight across with a gentle curve at the corners; curved cuts increase ingrown nail risk. Buff the surface lightly if the nail is ridged — ridges reduce the contact area between polish and nail.
Timing note: File before soaking, not after. Filing wet or recently-soaked nails causes splitting and tearing at the edges.
Soak for 10 to 15 minutes, push cuticles back gently, and remove any dead tissue from the nail plate surface. Then — critically — allow nails to dry completely for at least 10 minutes before touching polish. The soaking is for skin and cuticle preparation, not nail preparation.
Important: Do not apply any lotion, cuticle oil, or moisturiser to the nails or surrounding skin before polishing. Complete your skin care after the topcoat is fully dry.
This is the most commonly skipped step and the one that makes the biggest single difference to longevity. Wipe each nail with a cotton pad soaked in nail polish remover — or a dedicated nail dehydrator if you have one — immediately before applying the base coat. This removes any residual oil from the nail surface, including skin oils that transfer during cuticle work.
Why this works: Polish bonds to clean keratin. Any oil between the polish and the nail plate creates a release layer that allows the polish to peel cleanly away. Degreasing removes that layer entirely.
The Application Sequence and Timing
| Layer | What to do | Wait time before next coat |
|---|---|---|
| Base coat | One thin, even coat. Pull slightly away from the cuticle (1mm gap). Cap the free edge. | 2 minutes |
| Colour coat 1 | Thin coat, three strokes: centre first, then each side. Cap the free edge. | 90 seconds to 2 minutes — tacky but not wet |
| Colour coat 2 | Same technique. Check for streaks — a third thin coat is better than one thick corrective coat. | 2 minutes |
| Topcoat | One coat over everything, capping the free edge firmly. The topcoat should slightly overlap the cuticle edge to create a seal. | 10 minutes before footwear; 2 hours before full hardening |
The capping technique in detail: After loading the brush with polish, drag it across the very tip of the nail — the free edge — before painting the surface. Do this with every single layer including base coat and topcoat. It takes 2 extra seconds per nail and is the single most effective chip-prevention technique available without specialist products.
The Maintenance Routine That Adds Two Weeks
Application quality determines how long a pedicure can potentially last. Maintenance determines how long it actually lasts. These three habits, done consistently, take the ceiling from one week to three:
A thin coat of topcoat over existing polish. No removal, no base coat — just the topcoat, capping the free edge. Takes 5 minutes and is the single most impactful longevity habit available.
Apply cuticle oil or hand cream to the skin around the nail, not to the nail itself. Hydrated surrounding skin reduces the lifting that begins at the cuticle edge over time.
A chip on one nail doesn’t require redoing all ten. Apply a thin layer of colour to the affected nail only, let dry, then topcoat over everything. A seamless match is rarely perfect — but close enough is always better than bare.
When to Redo vs When to Touch Up
- ✦Touch up when one or two nails have small chips but the rest still look intentional. Apply colour to the affected nail only, let dry, then topcoat all ten to unify the finish.
- ✦Redo when chips affect more than 30% of a nail’s surface, when the overall result no longer looks deliberate at a glance, or when new nail growth at the base is becoming visible on multiple toes.
- ✦Three weeks is the natural limit regardless of visible condition — nail growth at the base will have progressed enough that the unpolished new growth starts reading as neglect rather than wear.
- ✦Remove before it starts peeling on its own. Peeling polish lifts layers of the nail with it as it goes. Proactive removal with remover protects nail plate integrity better than waiting for polish to fall away naturally.