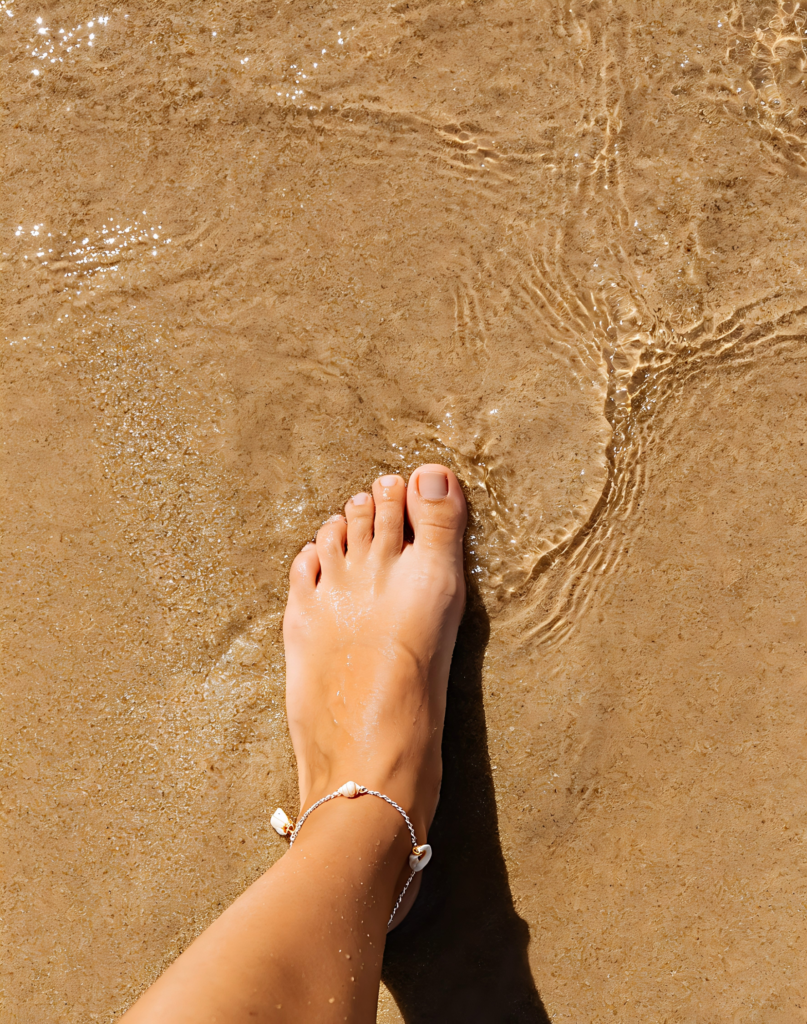
How to Get Soft Feet
in 7 Days
Getting soft feet in seven days is realistic — but only if you follow a sequence rather than applying more of the same thing daily. The method is: exfoliate first to remove the dead skin layer, build moisture into the layers underneath, then seal it overnight. Each day in this guide has one specific action.
If you want to know how to get softer feet that stay that way, the maintenance section at the bottom covers exactly that.
- Why feet get rough — what’s actually happening to the skin
- Tools and products that make a real difference
- Physical vs chemical exfoliants — which to use
- The 7-day plan at a glance
- Day-by-day instructions
- After Day 7: keeping what you’ve built
- Common mistakes that stop feet from softening
- Frequently asked questions
Why Feet Get Rough — What’s Actually Happening
Before you can get your feet soft, it helps to understand what hardened foot skin actually is. When the soles of your feet experience repeated pressure, friction, or irritation, the skin responds by thickening and hardening to protect itself. This is the body’s defence mechanism — not a sign of poor hygiene. The result is callouses: toughened patches that build up over time, primarily on heels and the balls of the feet.
The reason standard body lotion rarely solves the problem is that calloused skin is structurally different from normal skin. Its outer layer is too dense for regular moisturiser to penetrate. The product sits on the surface and evaporates, which is why people who moisturise daily still wonder how to get my feet soft when nothing seems to work. The answer is always the same: remove the barrier first, then moisture can reach where it needs to go.
Walking, running, and wearing shoes that don’t fit properly create the mechanical stress that triggers skin thickening. The heel and the ball of the foot bear the most load and callous fastest.
Dry skin loses elasticity and becomes more prone to hardening and cracking. Low humidity environments, hot showers, and not moisturising after bathing all accelerate moisture loss from the skin.
Sandals and flip-flops allow the fat pad under the heel to spread laterally with each step, creating pressure at the heel rim. This is the most common cause of cracking along the outer heel edge.
Unlike the rest of the skin, foot skin doesn’t get regular cleansing or exfoliation in most people’s routines. Dead skin accumulates in layers over months and years, eventually becoming the thick callous that resists standard moisturiser.
Tools and Products That Make a Real Difference
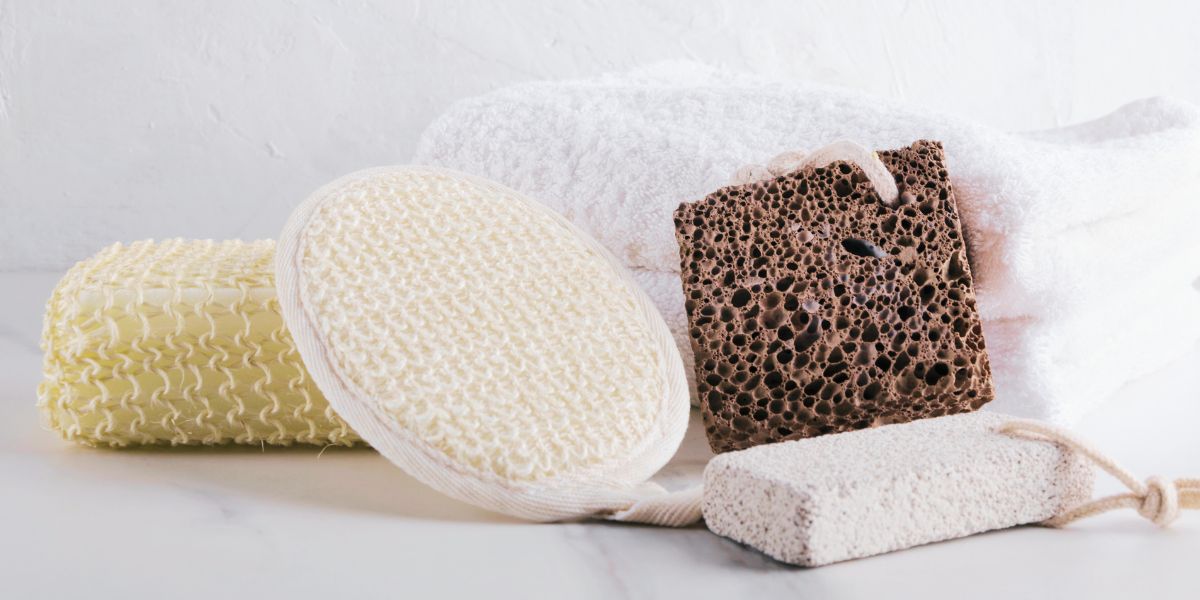
You don’t need an extensive kit to get feet soft at home. These are the items that genuinely change outcomes:
| Tool / Product | What it does | Essential? |
|---|---|---|
| Pumice stone | Physical exfoliant made from natural lava; removes dead skin cells with circular motion on wet feet. The most effective manual tool for most skin types. | Yes |
| Foot file (180 grit) | Does the same job as a pumice stone with slightly more precision on defined rough patches. Gentler than a cheese-grater-style grater. | Either/or with pumice |
| Urea cream (20–40%) | Breaks down the protein bonds holding hardened skin cells together — the most effective OTC ingredient for calloused foot skin. Urea also draws water into the skin. | Yes |
| Petroleum jelly | Forms a seal over moisture products to prevent overnight evaporation. Doesn’t absorb into skin — it sits on top as a protective barrier. | Yes (for overnight method) |
| Cotton socks | Used over petroleum jelly overnight to extend the occlusion effect and keep the seal in place during sleep. | Yes (for overnight method) |
| Foot scrub | Granule-based scrub that exfoliates and moisturises simultaneously. A gentler alternative to a pumice stone for sensitive skin. | Optional |
| Foot mask / foot peel | Provides intense hydration or chemical exfoliation in a single treatment. Foot peels contain AHAs that dissolve dead skin over several days. | Optional |
| Epsom salt | Added to the soak; helps soften callouses and draws out trapped moisture from hardened skin. Bath salts with phosphates are also effective. | Optional |
Physical vs Chemical Exfoliants: Which Should You Use?
Both types work — but they work differently, and combining them produces faster results than either alone.
Physical Exfoliants
Pumice stones, foot files, and granule scrubs remove dead skin mechanically through friction. They work immediately and the results are visible right away. The key is to use them on wet or damp skin only — physical exfoliation on dry foot skin causes irritation and can split the surface rather than smoothing it. Always soak first.
Chemical Exfoliants
Chemical exfoliants dissolve the bonds between dead skin cells without friction, allowing them to shed naturally. Unlike physical tools, they work on a delay — you apply them and let them work over hours or days. For people who want to know how to get feet soft without aggressive scrubbing, chemical exfoliants are often the more comfortable option.
Breaks down dead skin cells and reduces inflammation. Best for thick callouses and slightly inflamed rough patches. Use 2–4% on feet, 2–3 times per week.
Promotes cell turnover and exfoliates the surface layer efficiently. Works faster than lactic acid but can cause more sensitivity on thin skin. Use in foot peels or dedicated foot creams.
Gentler than glycolic acid, hydrates while exfoliating. A good starting point for sensitive skin. Also found in urea creams as a combined hydration and exfoliation ingredient.
When introducing chemical exfoliants, start with a low concentration and test on a small area first. Follow product instructions carefully — leaving an acid product on longer than directed doesn’t improve results and risks irritating healthy skin.
The 7-Day Plan at a Glance
| Day | Focus | Time |
|---|---|---|
| Day 1 | Deep soak and first exfoliation | 20 min |
| Day 2 | Intensive moisture application | 10 min |
| Day 3 | Overnight sock treatment | 5 min prep |
| Day 4 | Gentle second exfoliation | 15 min |
| Day 5 | Targeted heel treatment | 10 min |
| Day 6 | Rest and light moisture maintenance | 5 min |
| Day 7 | Final soak, polish, and assess | 25 min |
Day by Day: The Full Sequence
The first rule of getting your feet soft: never exfoliate dry skin. Dry foot skin resists the pumice stone and produces friction rather than smooth removal. The soak is what makes exfoliation work — it softens the dead skin so it lifts away easily rather than fighting back.
- Remove any anklets or foot jewellery before you begin. Prolonged soaking — especially with Epsom salt or essential oils added to the water — can dull metal finishes and loosen settings over time. Set them aside and put them back on once feet are fully dry after the session.
- Fill a basin with warm (not hot) water and add a tablespoon of Epsom salt — it softens callouses and makes the water more effective at drawing out moisture trapped under hardened skin. A few drops of essential oil makes the soak more relaxing and adds light skin conditioning.
- Soak for 10 to 15 minutes. This is the minimum for the skin to become sufficiently soft for exfoliation to work properly.
- While feet are still damp, use a pumice stone in gentle circular motions on the heels and ball of the foot — the areas where dead skin accumulates most. Use a straight stroke on the arch where skin is thinner.
- Apply moderate pressure — don’t force it. If it’s taking significant effort, the skin needs more soaking time, not more pressure.
- Rinse, pat partially dry, and apply any moisturiser immediately while the skin is still slightly damp.
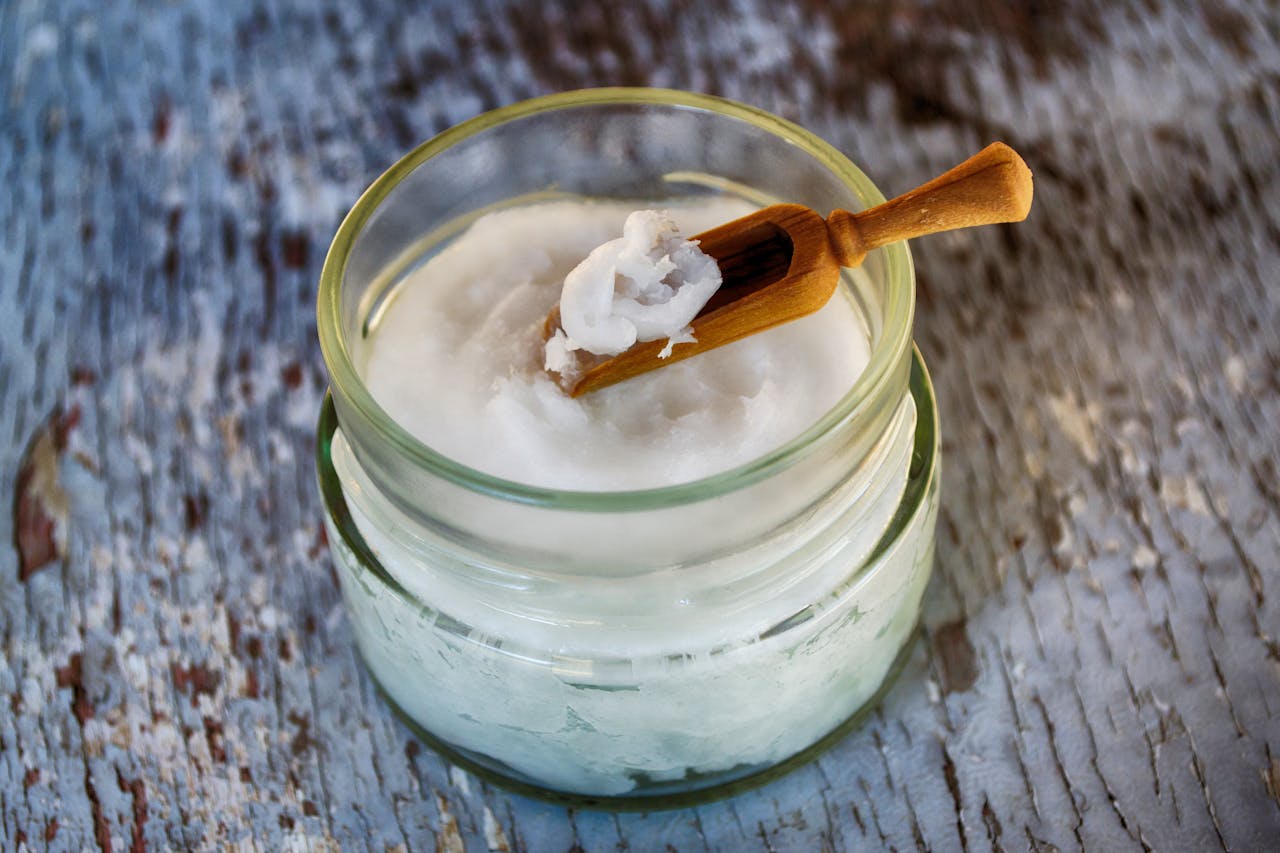
After Day 1’s exfoliation, the outer barrier that was blocking moisture has been partially disrupted. Day 2 is about driving hydration into the skin while that pathway is open. The ingredient that matters most here is urea — it actively pulls water into skin cells rather than simply sitting on the surface like standard lotion.
- Apply a urea-based foot cream (20–40% concentration) to completely dry feet. Not damp — dry skin allows the cream to concentrate rather than being diluted by surface moisture.
- Look for products with shea butter, coconut oil, or vitamin E alongside the urea — these complement the hydration by nourishing the skin while urea does the structural work.
- Massage in for 2–3 minutes per foot, focusing on heels and the arch where the skin is thickest. Massage drives the product deeper and improves circulation.
- If you only have basic body lotion, apply it in two layers with a 2-minute wait between applications to improve absorption.
- Leave feet uncovered during the day — no socks, which allows the cream to fully absorb rather than being wiped onto fabric.
This is one of the most effective ways to get softer feet without any additional product investment. The mechanism: skin loses moisture overnight through evaporation, and cotton socks paired with an occlusive create a sealed environment that forces that moisture back in rather than letting it escape. The extended contact time — 7 to 8 hours of sleep — allows ingredients to penetrate layers that short daytime application can’t reach.
- Apply your urea cream or a foot mask with glycolic or lactic acid to the entire foot — heel, sole, and toes.
- Apply a thick layer of petroleum jelly on top as the occlusive seal. Petroleum jelly is the most effective option for this — its molecular structure prevents it from absorbing into skin, so it forms a complete barrier rather than partially absorbing as richer creams do.
- Put on clean cotton socks immediately. Cotton holds in moisture without creating excessive heat. Synthetic fabrics are less effective for this.
- Sleep in the socks and remove in the morning. Rinse with cool water and pat dry.
After two days of moisture treatment, the skin is in a fundamentally different state than on Day 1. The layers that resisted the pumice stone before are now softened from the inside, and a second exfoliation removes them much more easily — with noticeably less pressure and effort.
- Soak for 8 to 10 minutes — shorter than Day 1 because the skin is already more receptive.
- Use a softer tool or lighter pressure than Day 1 — the work has already been done by the urea. You’re clearing what’s been loosened, not starting fresh.
- Alternatively, use a foot scrub with granules instead of the pumice stone for this second session — scrubs exfoliate and moisturise simultaneously and are gentler on skin that’s already been treated.
- Focus on areas that still feel rough. Don’t re-exfoliate skin that has already softened.
- Apply urea cream immediately after patting dry.
Heels thicken faster than any other part of the foot because they bear the most pressure and have fewer oil glands. By Day 5, most of the foot will already be noticeably softer — heels often need one additional targeted step to match the improvement seen elsewhere.
- Apply a heel balm with urea (20–40%) or a salicylic acid foot product specifically to heel areas. The higher-concentration formula breaks down callous tissue more aggressively than the standard cream used on the rest of the foot.
- Cover with a small piece of cling film for 20 minutes — even this short occlusion significantly boosts absorption without requiring you to sleep in socks.
- Remove and massage the area gently. The softened skin should shift more easily under your fingers than before.
- Follow with your standard urea cream over the whole foot.
- Repeat the overnight sock treatment from Day 3 tonight for maximum overnight benefit.
Skin regenerates during rest, not during treatment. The two exfoliation sessions and the targeted heel work earlier in the week have already done the structural work. Day 6 is about protecting what’s been built rather than pushing further.
- Apply moisturiser in the morning and again in the evening — no soaking, no exfoliation.
- Wash feet daily with warm water and soap to maintain good hygiene. Dry thoroughly, especially between the toes, where moisture retention can lead to bacterial growth.
- Wear breathable socks during the day — moisture-wicking materials keep the skin environment stable and reduce friction.
- Avoid hot showers that strip the skin barrier. Lukewarm is better for maintaining the moisture you’ve spent the week building.
- Trim toenails if needed — straight across, not curved at corners, to prevent ingrown edges.
Day 7 is your assessment and presentation day. A final soak, light maintenance exfoliation, and nail polish if you want it. Most people who follow the sequence consistently see a clearly visible change in both texture and skin tone compared to Day 1 — skin that appears brighter, more even, and genuinely smoother to the touch.
- Soak for 10 to 12 minutes with a few drops of any oil added to the water — it leaves a light conditioning film on the skin as you remove your feet.
- Light exfoliation only — pumice stone or fine file with minimal pressure to remove any surface dryness. This is maintenance, not treatment.
- Apply a generous layer of foot cream and massage for 3 to 4 minutes per foot.
- If polishing nails: let feet dry fully for 10 minutes first, then apply base coat before colour. Use toe separators to prevent smudging.
- Photograph your feet in the same light as Day 1 if you started with reference photos — the difference is usually more striking in photos than when you’re looking at your own feet daily.
- Once feet are fully dry and any polish has set, this is the moment to put your anklet back on. After a full week of care, the contrast between soft skin and a clean gold anklet is at its most noticeable.
After seven days of care, the finishing detail that pulls the look together. A custom name anklet with free engraving — worn on Day 7, or any time after.
Shop Name Anklets →After Day 7: Keeping What You’ve Built
Seven days of consistent treatment will soften feet noticeably — but foot skin regenerates quickly, particularly if you stand or walk for long periods. The maintenance routine is significantly simpler than the initial programme, but it needs to be consistent to work.
- ✦Exfoliate once per week. Weekly is enough to prevent dead skin buildup without disrupting the skin barrier. The overnight sock treatment works equally well as a weekly maintenance habit as it does during the initial programme. If you’re spending more time barefoot or in sandals, bump this to twice a week.
- ✦Moisturise every evening. Morning application is optional. Evening is the critical window because skin regenerates overnight and requires hydration to do so efficiently. Apply after bathing while skin is still slightly damp for better absorption.
- ✦Wash feet daily and dry thoroughly, especially between the toes. Bacterial growth in trapped moisture leads to odour and skin breakdown — both of which worsen dryness over time.
- ✦Wear shoes that fit properly. Friction from ill-fitting footwear is the fastest way to rebuild callouses. No skincare programme can outpace daily mechanical damage from shoes that are too tight, too loose, or backed by hard edges.
- ✦Wear breathable socks. Moisture-wicking materials keep feet dry between moisturising sessions, reducing the conditions that lead to hardening and bacterial growth.
- ✦Do a full at-home spa pedicure once a month to reset and catch areas that are beginning to roughen before they become a problem. Our complete step-by-step guide covers the full process: how to do a spa pedicure at home.
Common Mistakes That Stop Feet From Softening
These errors explain why many people spend weeks trying to get softer feet with no lasting result:
- ✕Using harsh exfoliants or exfoliating too frequently
Aggressive or daily exfoliation strips the skin’s natural oils and triggers a protective thickening response. The skin reads repeated abrasion as mechanical threat and produces more keratin to compensate. Weekly exfoliation is the upper limit for most people. Gentle tools (pumice stone, foot file) are more effective over time than aggressive electric graters.
- ✕Exfoliating dry feet without soaking first
Dry foot skin resists physical exfoliation. Without soaking, you need significantly more pressure to achieve any effect — which causes irritation rather than smooth removal. Always soak for at least 10 minutes before any physical exfoliation. The soak does most of the work; the pumice stone finishes it.
- ✕Not moisturising immediately after exfoliating or bathing
Skipping the moisturiser after exfoliation negates much of the benefit. The window for optimal absorption is the first 60 seconds after patting dry — skin is still warm, pores are open, and the surface layer has been disrupted. Moisturiser applied to dry skin 10 minutes later absorbs at a fraction of the rate.
- ✕Using body lotion instead of a dedicated foot cream
Body lotion is formulated for normal skin, not calloused foot skin. It doesn’t contain the concentrations of urea or acids needed to penetrate the hardened outer layer. Using body lotion on feet is the single most common reason people can’t figure out how to get a soft feet result that lasts — the product simply can’t do the job it’s being asked to do.
- ✕Inconsistency — treating feet occasionally rather than daily during the repair period
The 7-day programme requires daily action during the repair phase because foot skin regenerates quickly. Skipping days resets progress rather than simply delaying it. Once feet are in a maintained state, occasional treatment works fine — but during the initial repair week, consistency is what produces the result.