How to Do a Spa Pedicure
at Home
A full at-home spa pedicure takes 45 to 60 minutes and covers ten steps: soak, exfoliate, file nails, push back cuticles, trim, treat heels, massage, base coat, colour, and topcoat. The advantage over a salon isn’t cost — it’s that you can customise every step for your specific skin and nail condition rather than following a standard protocol.
A salon pedicure follows the same routine for every client, regardless of whether your heels need targeted treatment, your cuticles are healthy, or your nails are growing unevenly. Doing it yourself means you can spend more time on what actually needs attention and skip what doesn’t.
This guide covers the complete ten-step process, the tools that genuinely matter, the most common mistakes at each stage, and how to adapt the routine if you’re preparing feet for photography or content creation.
What You Actually Need
- ✦Foot basin or large bowl — deep enough to cover the heel
- ✦Pumice stone or foot file — not a cheese grater-style grater, which removes too much
- ✦Nail clippers — foot-specific, wider jaw than finger clippers
- ✦Nail file (180 grit) — for shaping after clipping
- ✦Cuticle pusher — orange stick or metal, never scissors on healthy cuticles
- ✦Foot cream or urea lotion — for the massage and hydration step
- ✦Nail polish remover and cotton pads — to start with a clean base
- ✦Toe separators — for applying polish without smudging
- ✦Epsom salt — for the soak; softens skin and reduces any swelling
- ✦Cuticle oil — more targeted than cream for the cuticle area
- ✦Exfoliating scrub — as an alternative to a pumice stone for the first pass
- ✦Base coat — protects nails from staining and extends polish wear
- ✦Quick-dry topcoat — cuts drying time significantly and adds gloss
- ✦Heel balm (high-urea) — for targeted treatment if heels are rough
- ✦Small brush for cleanup — dipped in remover to correct polish edges
The 10-Step Full Process
Follow these steps in order — each one prepares the foot for the next. The most common errors come from skipping steps or reversing the sequence.
Start with a clean nail surface. Acetone-based remover works faster and more thoroughly than acetone-free — worth using here even if you avoid it for fingernails, since toenails are thicker and less absorbent.
- Saturate a cotton pad and hold against each nail for 5 seconds before wiping
- Use a cotton bud dipped in remover for polish caught around the cuticle edge
- Check that all nails are fully clean before moving on — any residue affects how new polish adheres
Common mistake: Rubbing immediately without soaking first. Hold, then wipe — it removes more polish with less friction and less drying of the surrounding skin.
The soak is not optional. It softens dead skin for exfoliation, reduces nail brittleness before filing, and makes cuticle work significantly easier. Ten minutes is the minimum; fifteen is better for rough or dry feet.
- Warm water — not hot. Hot water dehydrates skin and can increase sensitivity
- Add a tablespoon of Epsom salt and a few drops of any oil
- Fully submerge feet including heels — a basin too shallow defeats the purpose
- Use the time to prep your other tools so you can move directly from the soak without feet drying out
Common mistake: Soaking for too long — over 20 minutes softens nails to the point where filing becomes difficult and edges can split. Ten to fifteen minutes is the window.
Exfoliate while feet are still damp from the soak — never on dry skin. The goal is removing the softened surface layer of dead skin, not grinding down to new skin underneath.
- Use a pumice stone or foot file in circular motions on heels and the ball of the foot
- Use straight strokes on the arch where skin is thinner
- Apply moderate, consistent pressure — don’t push harder to speed up the process
- Rinse feet and pat partially dry before moving to nail work
Common mistake: Skipping this step if feet look “not that bad.” Exfoliation removes the barrier that prevents moisturiser from absorbing properly — it’s as important for relatively smooth feet as for rough ones.
Clip after soaking, not before — softened nails cut more cleanly without splitting or flaking. The shape matters: toenails should be cut straight across, not curved at the corners, to prevent ingrown edges.
- Cut straight across with a small curve that follows the natural nail shape
- Leave a small amount of white at the tip — cutting too short causes discomfort and increases ingrown risk
- Use foot clippers, not finger clippers — the wider jaw handles the thicker nail without requiring multiple passes
- Do all ten nails before moving to filing
Common mistake: Cutting nails dry before the soak. Dry toenails split and flake at the edges, making a clean cut almost impossible and increasing breakage risk significantly.
Filing smooths the cut edges and refines the shape. Use a 180-grit file — finer grits don’t work efficiently on toenails, coarser ones remove too much material per stroke.
- File in one direction only — back-and-forth sawing creates micro-splits at the nail edge
- Smooth the free edge to remove any sharpness left by the clippers
- Gently buff the nail surface if it’s ridged — one or two passes only, not enough to thin the nail
Common mistake: Filing damp nails immediately after the soak. Let them air for 2–3 minutes first — wet nails are softer and more prone to tearing at the edges during filing.
The cuticle is a protective seal between the nail plate and the skin. The goal is to push it back and remove any dead tissue, not to cut it entirely — cutting live cuticle removes that protection and increases infection risk.
- Apply cuticle oil or cream to each nail and let it soften for 1–2 minutes
- Use a cuticle pusher to gently push the cuticle back from the nail plate — work in small circles, not by forcing
- Use a nail stick to remove any white, flaking dead tissue (this is the part that can safely be removed)
- Do not cut pink, living cuticle — only remove visibly dead, white-grey tissue
Common mistake: Using cuticle scissors on healthy cuticles. Unless you have training in salon technique, scissors almost always take too much and damage the seal that keeps bacteria out of the nail bed.
If your heels need extra attention — roughness that the pumice didn’t fully address, or any cracking — this is the step to address it specifically before moisturising the whole foot.
- Apply a heel balm or high-urea cream (20–40%) directly to heel areas
- Cover with cling film for 5 minutes to boost absorption — even a short occlusion makes a visible difference
- Remove film and massage gently — the skin should feel noticeably softer than before
- Skip this step if heels are already in good condition — move directly to massage
Common mistake: Applying regular body lotion to severely cracked heels and expecting it to penetrate. Cracked heel skin requires urea or salicylic acid to break through the thickened outer layer. Standard lotion sits on the surface. See our full guide on dry, cracked heels if this is an ongoing issue.
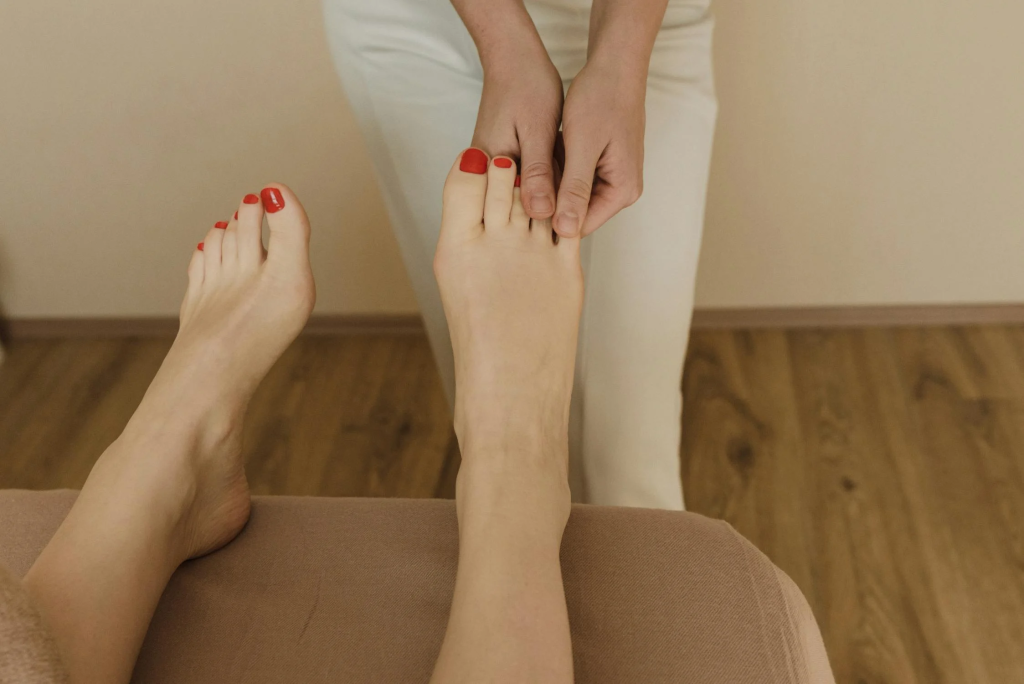
The massage step serves two purposes: it drives moisture into the skin through movement, and it improves circulation which supports skin cell regeneration over the following days. Don’t rush it.
- Apply a generous amount of foot cream — more than you think is necessary
- Start at the toes, working each toe individually with a gentle pull-and-rotate motion
- Move to the arch and ball of the foot with firm thumb pressure in circular motions
- Work up to the heel and ankle, using the full palm rather than just fingertips
- Finish by wiping the nail surface clean — any cream on the nail plate will prevent polish from adhering
Common mistake: Using too little product. Foot skin is significantly thicker than the skin on hands or arms. Use two to three times the amount you’d use on your hands for the same coverage.
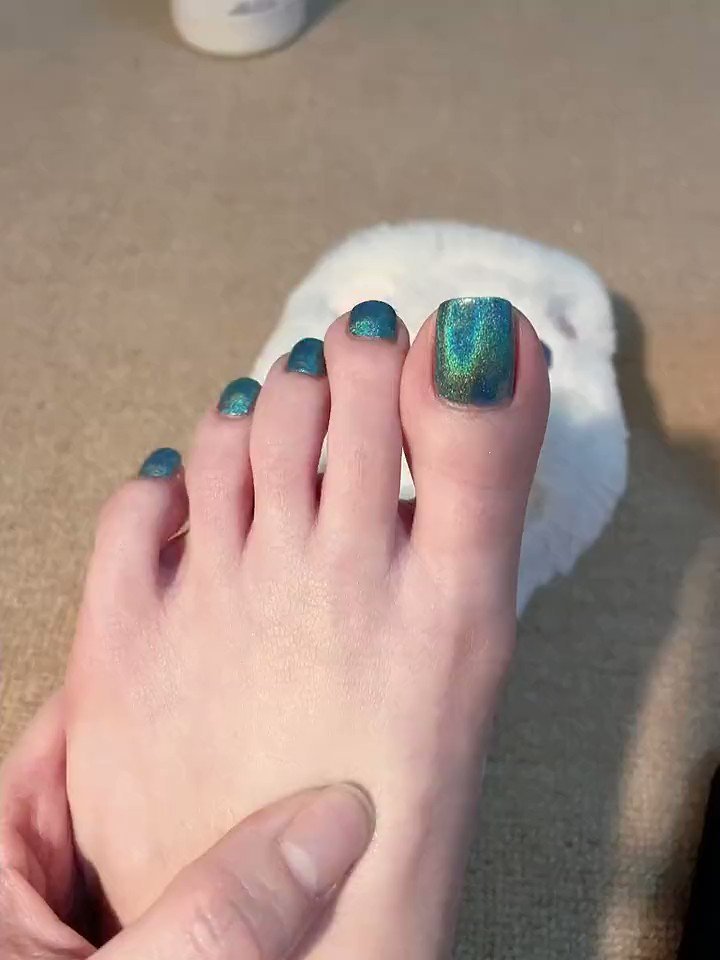

Fresh polish, soft skin, and an anklet that stays on through every season. A custom name anklet with free engraving — the one piece of jewellery that makes sense with bare feet.
Shop Name Anklets →Wait at least five minutes after the massage before starting polish — any remaining cream on the nail surface will cause lifting or peeling within days. Fit toe separators before picking up the brush.
- Apply a thin, even base coat to all ten nails and let dry for 2 minutes
- Apply the first colour coat — thin is better than thick; two thin coats beat one thick coat every time
- Let the first coat become tacky (about 90 seconds) before applying the second
- Use the brush tip to cap the free edge — drag across the top of the nail to seal the colour and prevent chipping
- Use a fine brush dipped in remover to clean any polish that touched skin
Common mistake: Applying thick coats to speed up the process. Thick coats take longer to dry all the way through, dent more easily, and peel at the edges sooner. Thin coats dry faster and last longer.
Topcoat seals the colour, adds gloss, and extends wear from a few days to over a week. It’s the step most commonly skipped and the one that makes the most difference to how long the result lasts.
- Apply one thin topcoat layer over the colour, again capping the free edge
- Let dry undisturbed for at least 10 minutes before putting on footwear
- For full hardening: nails cure over 2–4 hours — avoid tight shoes or socks during this window
- Apply a fresh layer of topcoat every 3–4 days to maintain gloss and prevent chipping
Common mistake: Testing dryness by pressing the nail surface. If it dents, it wasn’t dry. Use the knuckle test instead — touch the very edge of the nail with the back of your knuckle. If nothing transfers, the surface is dry enough to move around.
Steps 1–8 are your pre-shoot routine. The ideal shooting window is immediately after the massage, before any polish — skin is at its most supple and the natural texture reads best on camera. If you’re shooting polished content, allow a full 30 minutes after topcoat before handling the camera. For a complete 7-day softening programme before a scheduled shoot, see how to get soft feet in 7 days.
How Often to Do This
| Situation | Recommended Frequency |
|---|---|
| General maintenance | Once every 3–4 weeks |
| Active foot content creator | Every 2 weeks, with weekly sole care between sessions |
| Recovering from neglect or rough skin | Weekly for the first month, then monthly thereafter |
| Winter months (skin dries faster) | Every 2–3 weeks |
| Summer (sandal season / barefoot time) | Every 2–3 weeks plus daily moisturising |