
DIY Guide · Foot Jewelry
How to Make an Ankle Bracelet:
5 DIY Styles from Easy to Actually Impressive
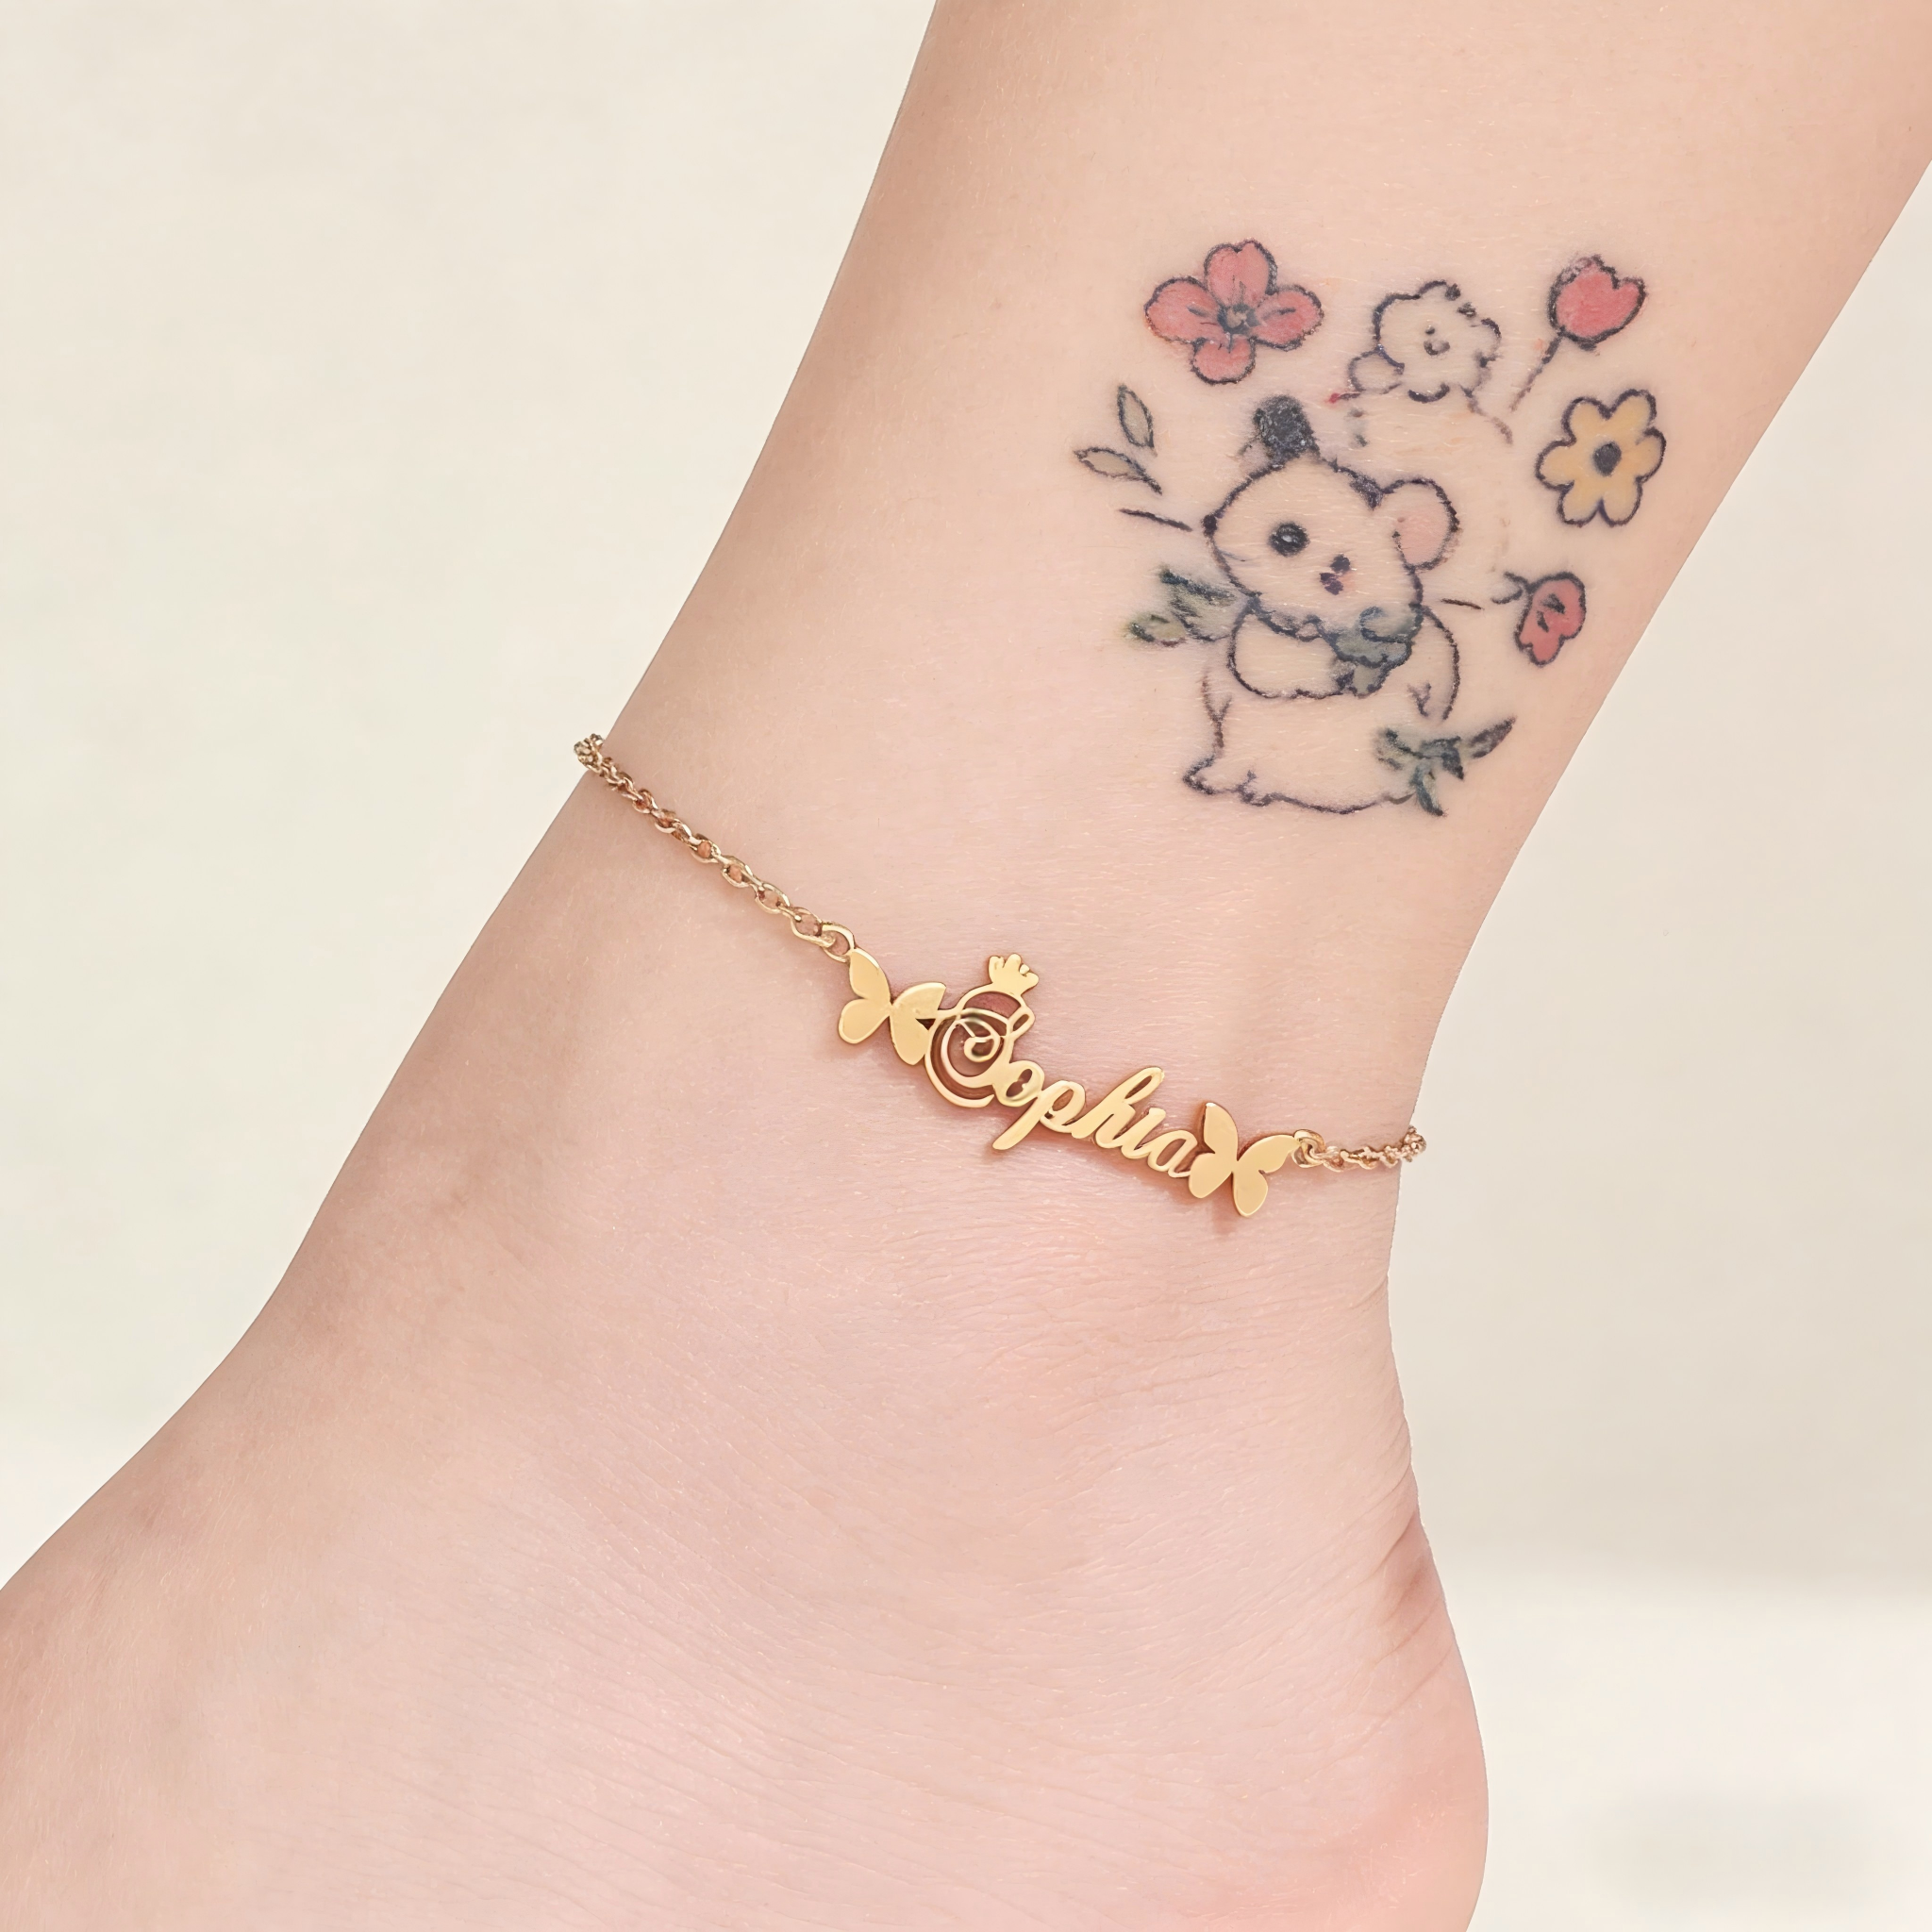
Making your own ankle bracelet is one of the more satisfying jewelry projects you can take on at home. The materials are inexpensive, the techniques are learnable in an afternoon, and the results — when you get the tension and finish right — look genuinely good. The five styles in this guide range from a fifteen-minute knotted cord project to a layered chain construction that takes more patience but produces something you’d actually wear every day. Each one comes with a full materials list and step-by-step instructions. If at any point you decide you’d rather skip the making and go straight to wearing, the engraved name anklet styles here are waterproof, eco-friendly, and arrive ready to wear.
A quick note before you start: ankle bracelets have different requirements from wrist bracelets. They need to be slightly larger (most ankles measure 8–10 inches around), made from materials that handle moisture and movement well, and finished with clasps or knots that won’t work loose during the day. The instructions below account for all of this. Read the whole tutorial for your chosen style before you begin — the order of steps matters more with ankle jewelry than most people expect.
These five styles are organized by difficulty. If you’ve never made jewelry before, start with Style 1 or 2. If you have some experience with wire or chain work, jump straight to Style 4 or 5.
Style OneThe simplest possible ankle bracelet and the best starting point for anyone new to jewelry making. No tools required beyond scissors. The result is a bohemian, casual piece that works well at the beach or with summer sandals. Make it in a single color for a minimal look or braid three cords together for more texture.
- Waxed cotton cord (1.5mm)
- Scissors
- Ruler
- Optional: small bead or charm
- 1Cut three lengths of cord, each 24 inches long. Fold all three in half and tie an overhand knot 1 inch from the folded end to create a loop.
- 2Separate the six strands and braid them in groups of two, keeping even tension throughout. Braid to approximately 9 inches.
- 3Slide a bead or charm onto all strands if using one, then tie a firm overhand knot to secure it in place.
- 4Divide the remaining strands into two groups and tie each into a finishing knot. Trim ends evenly, leaving about half an inch.
- 5Fasten by threading one tail group through the loop and knotting. Adjust position before tightening fully.
A classic beaded anklet works in almost any aesthetic depending on the bead choice — seed beads for a delicate look, wooden beads for bohemian, semi-precious stones for something more considered. The elastic version is the simplest to make and the easiest to put on and take off; the clasp version is more secure for daily wear.
- Stretch elastic cord (0.8mm)
- Seed or accent beads
- Big eye beading needle
- Scissors
- Clear nail polish or bead glue
- 1Cut elastic cord to 12 inches. Thread through needle. String beads in your chosen pattern until the beaded section measures 9–10 inches.
- 2Test the fit around your ankle — the beads should sit comfortably without bunching when the elastic is relaxed.
- 3Tie a surgeon’s knot (overhand, then under twice) to close the loop. Pull firmly to seat the knot between two beads.
- 4Apply a small dot of clear nail polish to the knot. Allow to dry completely before trimming excess cord.
A fine chain anklet with a lobster clasp is the closest DIY equivalent to the kind of ankle jewelry you’d buy in a store. The key is the chain weight — too light and it looks flimsy; too heavy and it reads as a bracelet. A 2mm cable or rolo chain is the sweet spot for most ankles. Add a single charm to the center if you want something more personal.
- Fine chain (2mm, 11–12 inches)
- 2× jump rings (5mm)
- 1× lobster clasp
- Chain-nose pliers (×2)
- Wire cutters
- Optional: small charm
- 1Cut chain to desired length with wire cutters — measure around your ankle and add 1 inch for the clasp and extender.
- 2Open a jump ring using two pairs of pliers (twist sideways, never pull apart). Attach it to one end of the chain. Close firmly.
- 3Thread the lobster clasp onto the jump ring before closing if you want the clasp on this end, or attach to the other end.
- 4Attach a second jump ring to the other chain end as the clasp target. If adding a charm, thread it onto this ring before closing.
- 5Check all connections by gently tugging each jump ring. Ensure all rings are fully closed with no gap.
Two chains of slightly different weights running in parallel, connected at either end with a single clasp — this creates the stacked look that most people achieve by wearing two separate anklets. It’s neater, sits better, and photographs more cleanly. The trick is keeping both chains exactly the same length so they sit parallel without one pulling the other.
- Fine chain × 2 (different weights, same length)
- 4× jump rings (5mm)
- 2× connectors or end bars
- 1× lobster clasp
- Chain-nose pliers (×2)
- Wire cutters
- 1Cut both chains to identical lengths. Lay them side by side to confirm they match exactly — even a 2mm difference will cause uneven drape.
- 2Attach both chains to one end bar or connector using separate jump rings — one chain per loop on the connector.
- 3Attach the lobster clasp to the connector using a jump ring.
- 4Repeat on the other end with a second connector, leaving one open jump ring as the clasp target.
- 5Test the fit and adjust chain length before closing the final jump ring permanently.
Chain combined with cord, leather, or semi-precious stone drops — the most complex of the five styles and the most visually distinctive. This is the one that doesn’t look obviously homemade when the materials and proportions are right. It takes patience and some trial and error with the material combinations, but the result is a piece you won’t find anywhere else.
- Fine chain (1.5mm, 6 inches)
- Waxed cord or leather strip (6 inches)
- 2–3 small stone or charm drops
- Head pins (×3)
- Round-nose pliers
- Chain-nose pliers (×2)
- Wire cutters
- Jump rings (×4)
- Lobster clasp (×1)
- 1Create your stone drops first: thread each onto a head pin, bend the wire above the stone at 90°, trim to 8mm, then form a loop with round-nose pliers.
- 2Measure and cut your chain and cord to equal lengths. Both should total 9–10 inches when joined end-to-end.
- 3Connect chain and cord end-to-end using a jump ring at the join point. This creates a single continuous length: cord on one side, chain on the other.
- 4Attach your stone drops to specific chain links using their pre-formed loops — space them unevenly for a more natural, collected look.
- 5Add lobster clasp to one end and a closing jump ring to the other. Test and adjust fit before sealing all connections.
 The Honest Comparison
DIY vs Custom Anklet —
Where Each One Wins
The five styles above are all genuinely makeable at home and will look good if you follow the instructions carefully. But it’s worth being clear about where homemade ankle jewelry has real limitations — not to discourage the making, but to help you decide which approach fits what you’re actually looking for.
| Factor | DIY Anklet | Custom Engraved Anklet |
|---|---|---|
| Cost | Low — materials typically $5–15 | Higher upfront, longer lasting |
| Time | 15 min to 2 hours per piece | None — ships ready to wear |
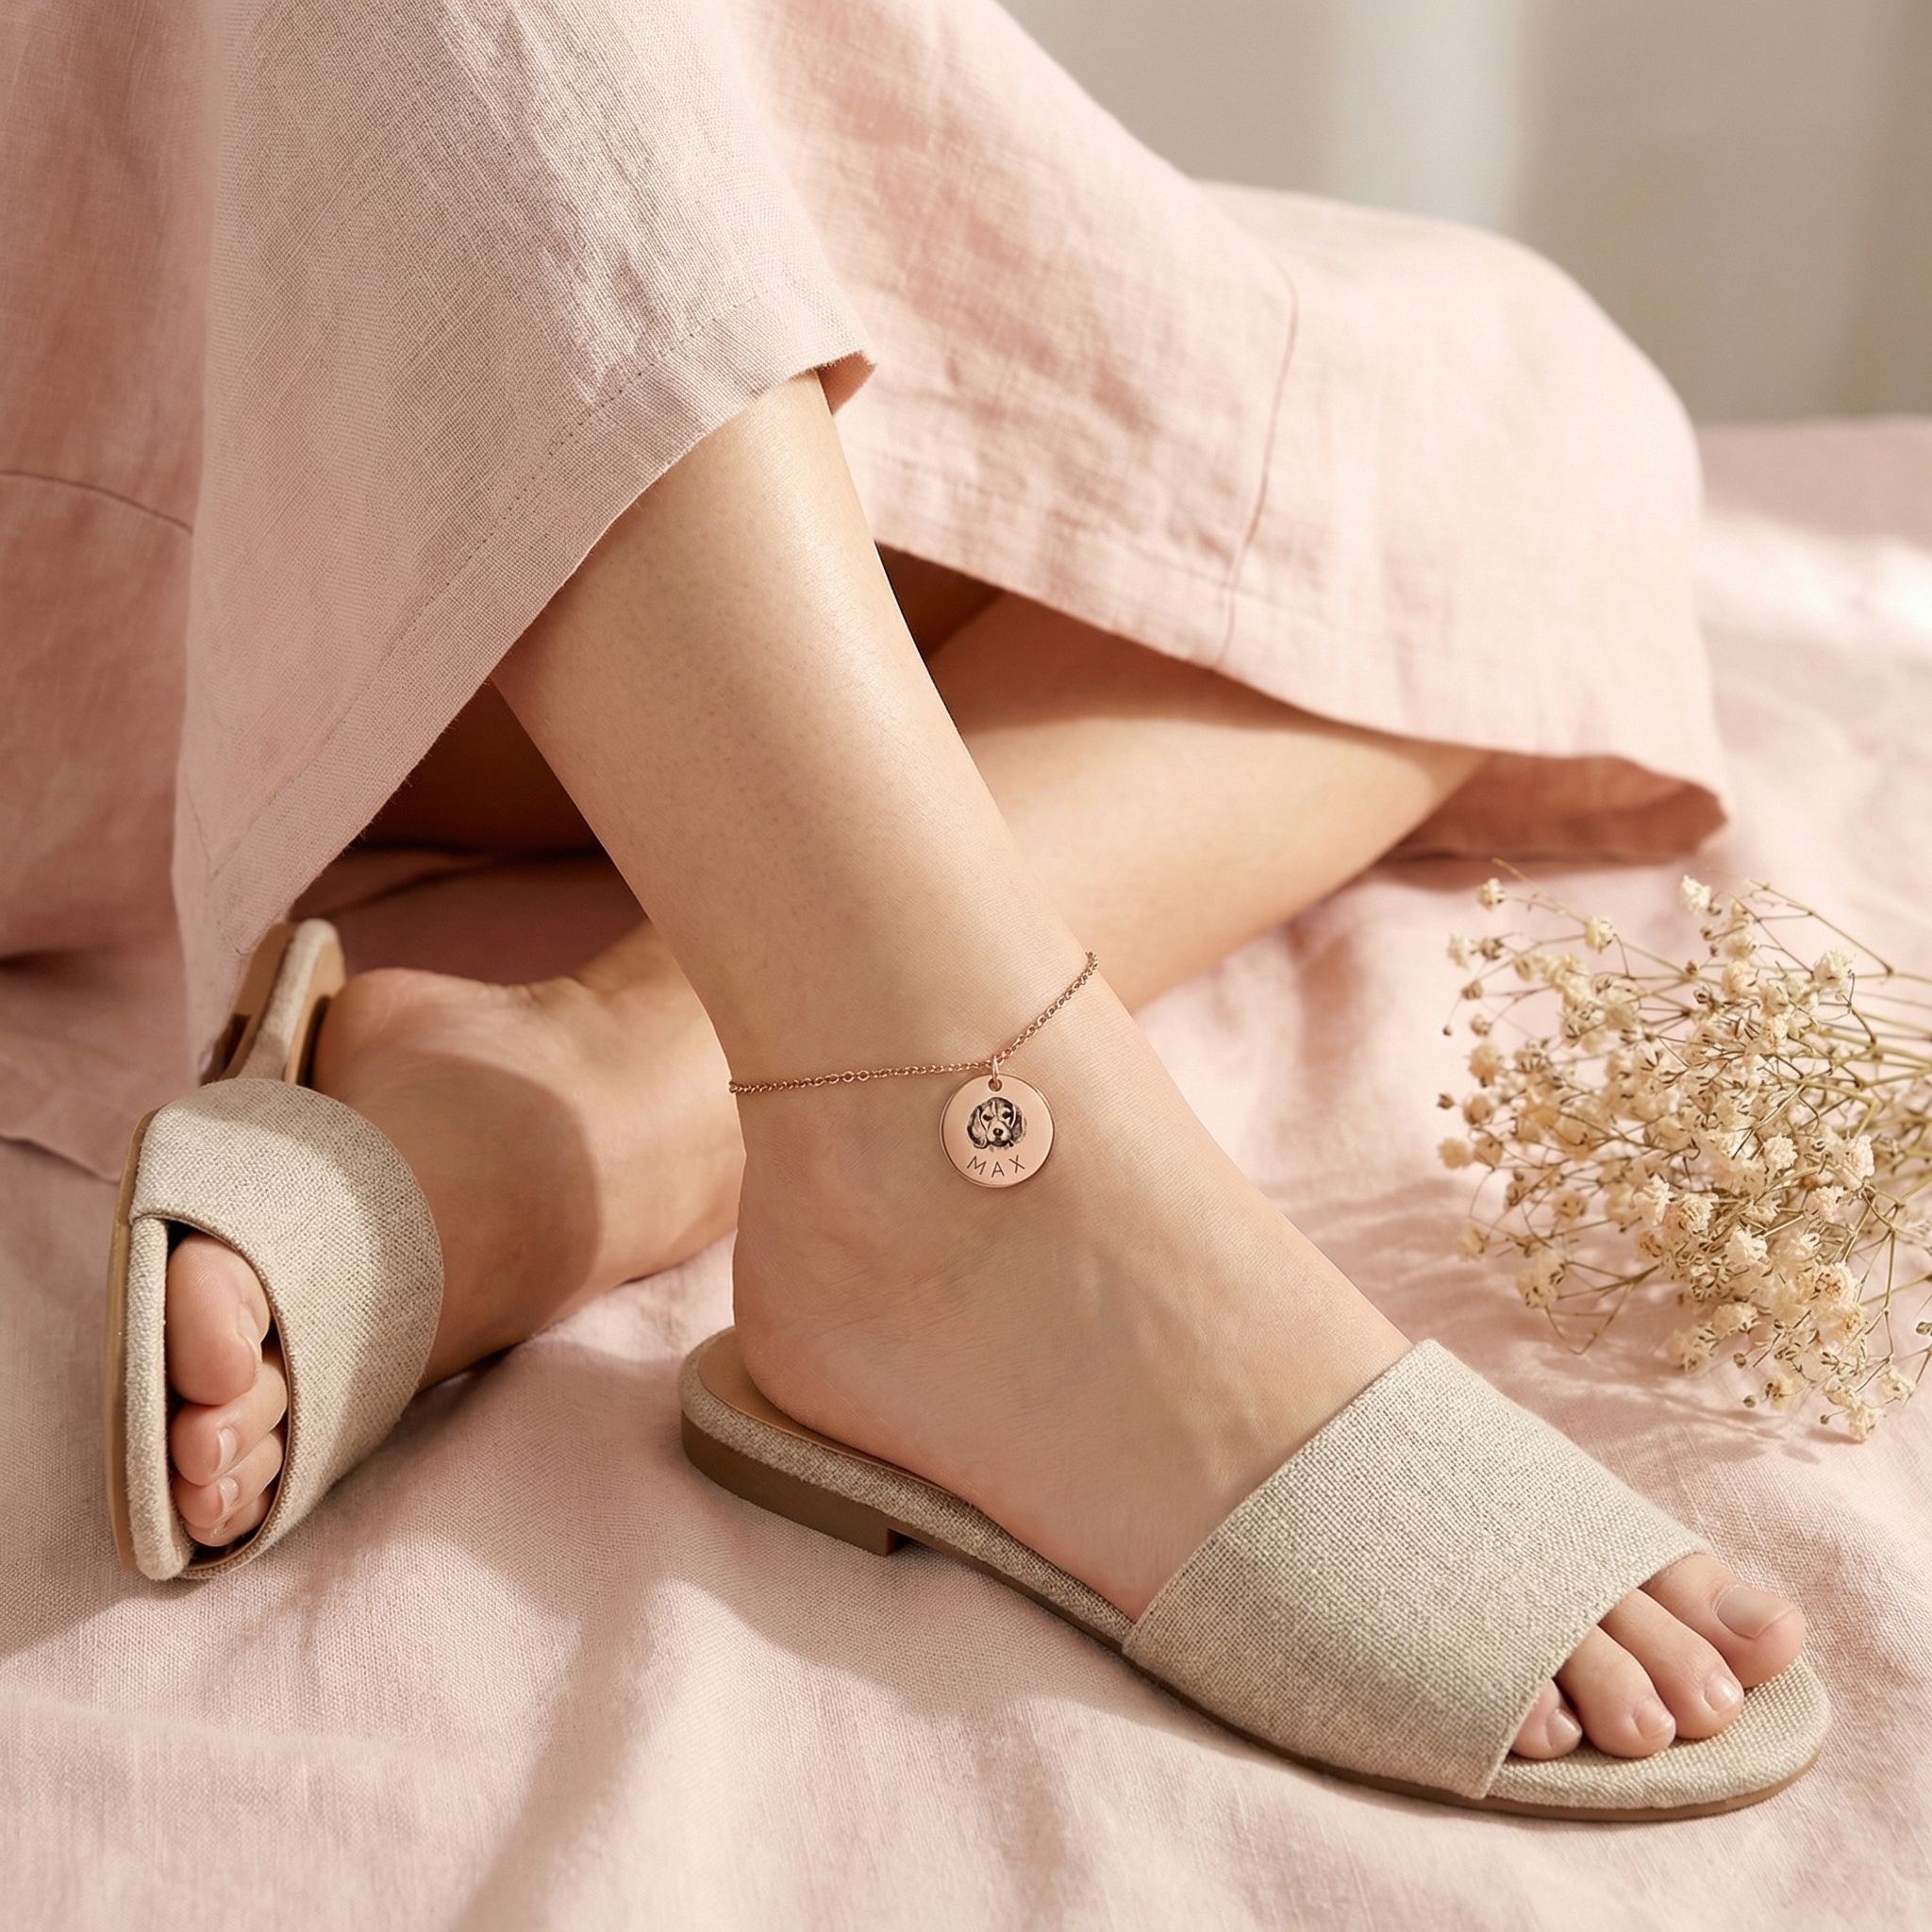
| Waterproof | Rarely — most DIY materials degrade | Yes — eco-friendly, tarnish-free materials built for daily wear including swimming |
| Personalization | Style and color choices only | Name, date, initial — precision-engraved |
| Durability | Weeks to months depending on materials | Years — hypoallergenic, fade-resistant |
| Gifting | Personal touch, variable finish quality | Gift-ready packaging, professional finish |
“DIY gives you the process. A custom anklet gives you the result. Knowing which one you actually want before you start saves both time and money.”
The DIY route genuinely wins on process enjoyment and cost. If making it is part of the point — a creative afternoon, a craft you do with someone, an experiment with materials — then any of the five styles above is worth the time. If what you want is a piece you’ll wear every day for years, that’s waterproof through beach trips and daily showers, and carries something specific like a name or a date — that’s where a personalized initial or name style earns its place over anything hand-assembled.
Some people make the cord or beaded version themselves and add a custom engraved chain alongside it for the stacked effect. The DIY piece brings the handmade texture; the engraved piece carries the meaning. Worn together, they often look better than either would alone. If that’s the direction you’re heading, a slim engraved date or year anklet sits cleanly next to any of the five DIY styles in this guide.
Common Mistakes to
Avoid Before You Start
Making it too short. Most wrist bracelet patterns add 0.5–1 inch for comfort. Ankle bracelets need 1.5–2 inches extra. Measure your ankle, then add at least 1.5 inches before cutting anything.
Using non-waterproof materials. Standard cotton cord, some leather, and cheap metal components will all deteriorate quickly on an ankle that encounters sweat, sunscreen, and water regularly. Choose waxed cord, stainless components, or explicitly waterproof materials if you want the piece to last more than a few weeks.
Skipping the finish. Jump rings that aren’t fully closed, knots without glue or nail polish, ends that aren’t trimmed cleanly — these are the small things that turn a good-looking piece into one that fails within a week. The finishing step for each style in this guide is as important as any of the earlier steps.
Over-complicating the design. The best DIY ankle bracelets tend to be simple. A single chain with one charm. A clean braid. Consistent beads with one accent. Complexity requires more skill to execute well, and a simple piece done carefully looks significantly better than a complex piece done approximately right. Browse the full range of minimal engraved styles for reference on what restraint looks like in ankle jewelry.
When You Want a Name,
a Date, or an Initial on It
Eco-friendly, hypoallergenic, waterproof custom anklets — engraved with whatever matters most. Adjustable fit. Ships gift-ready. No making required.
✦ Free engraving · Adjustable fit · See all styles