
Selling Oily Feet Pics:
A Niche Guide for Creators
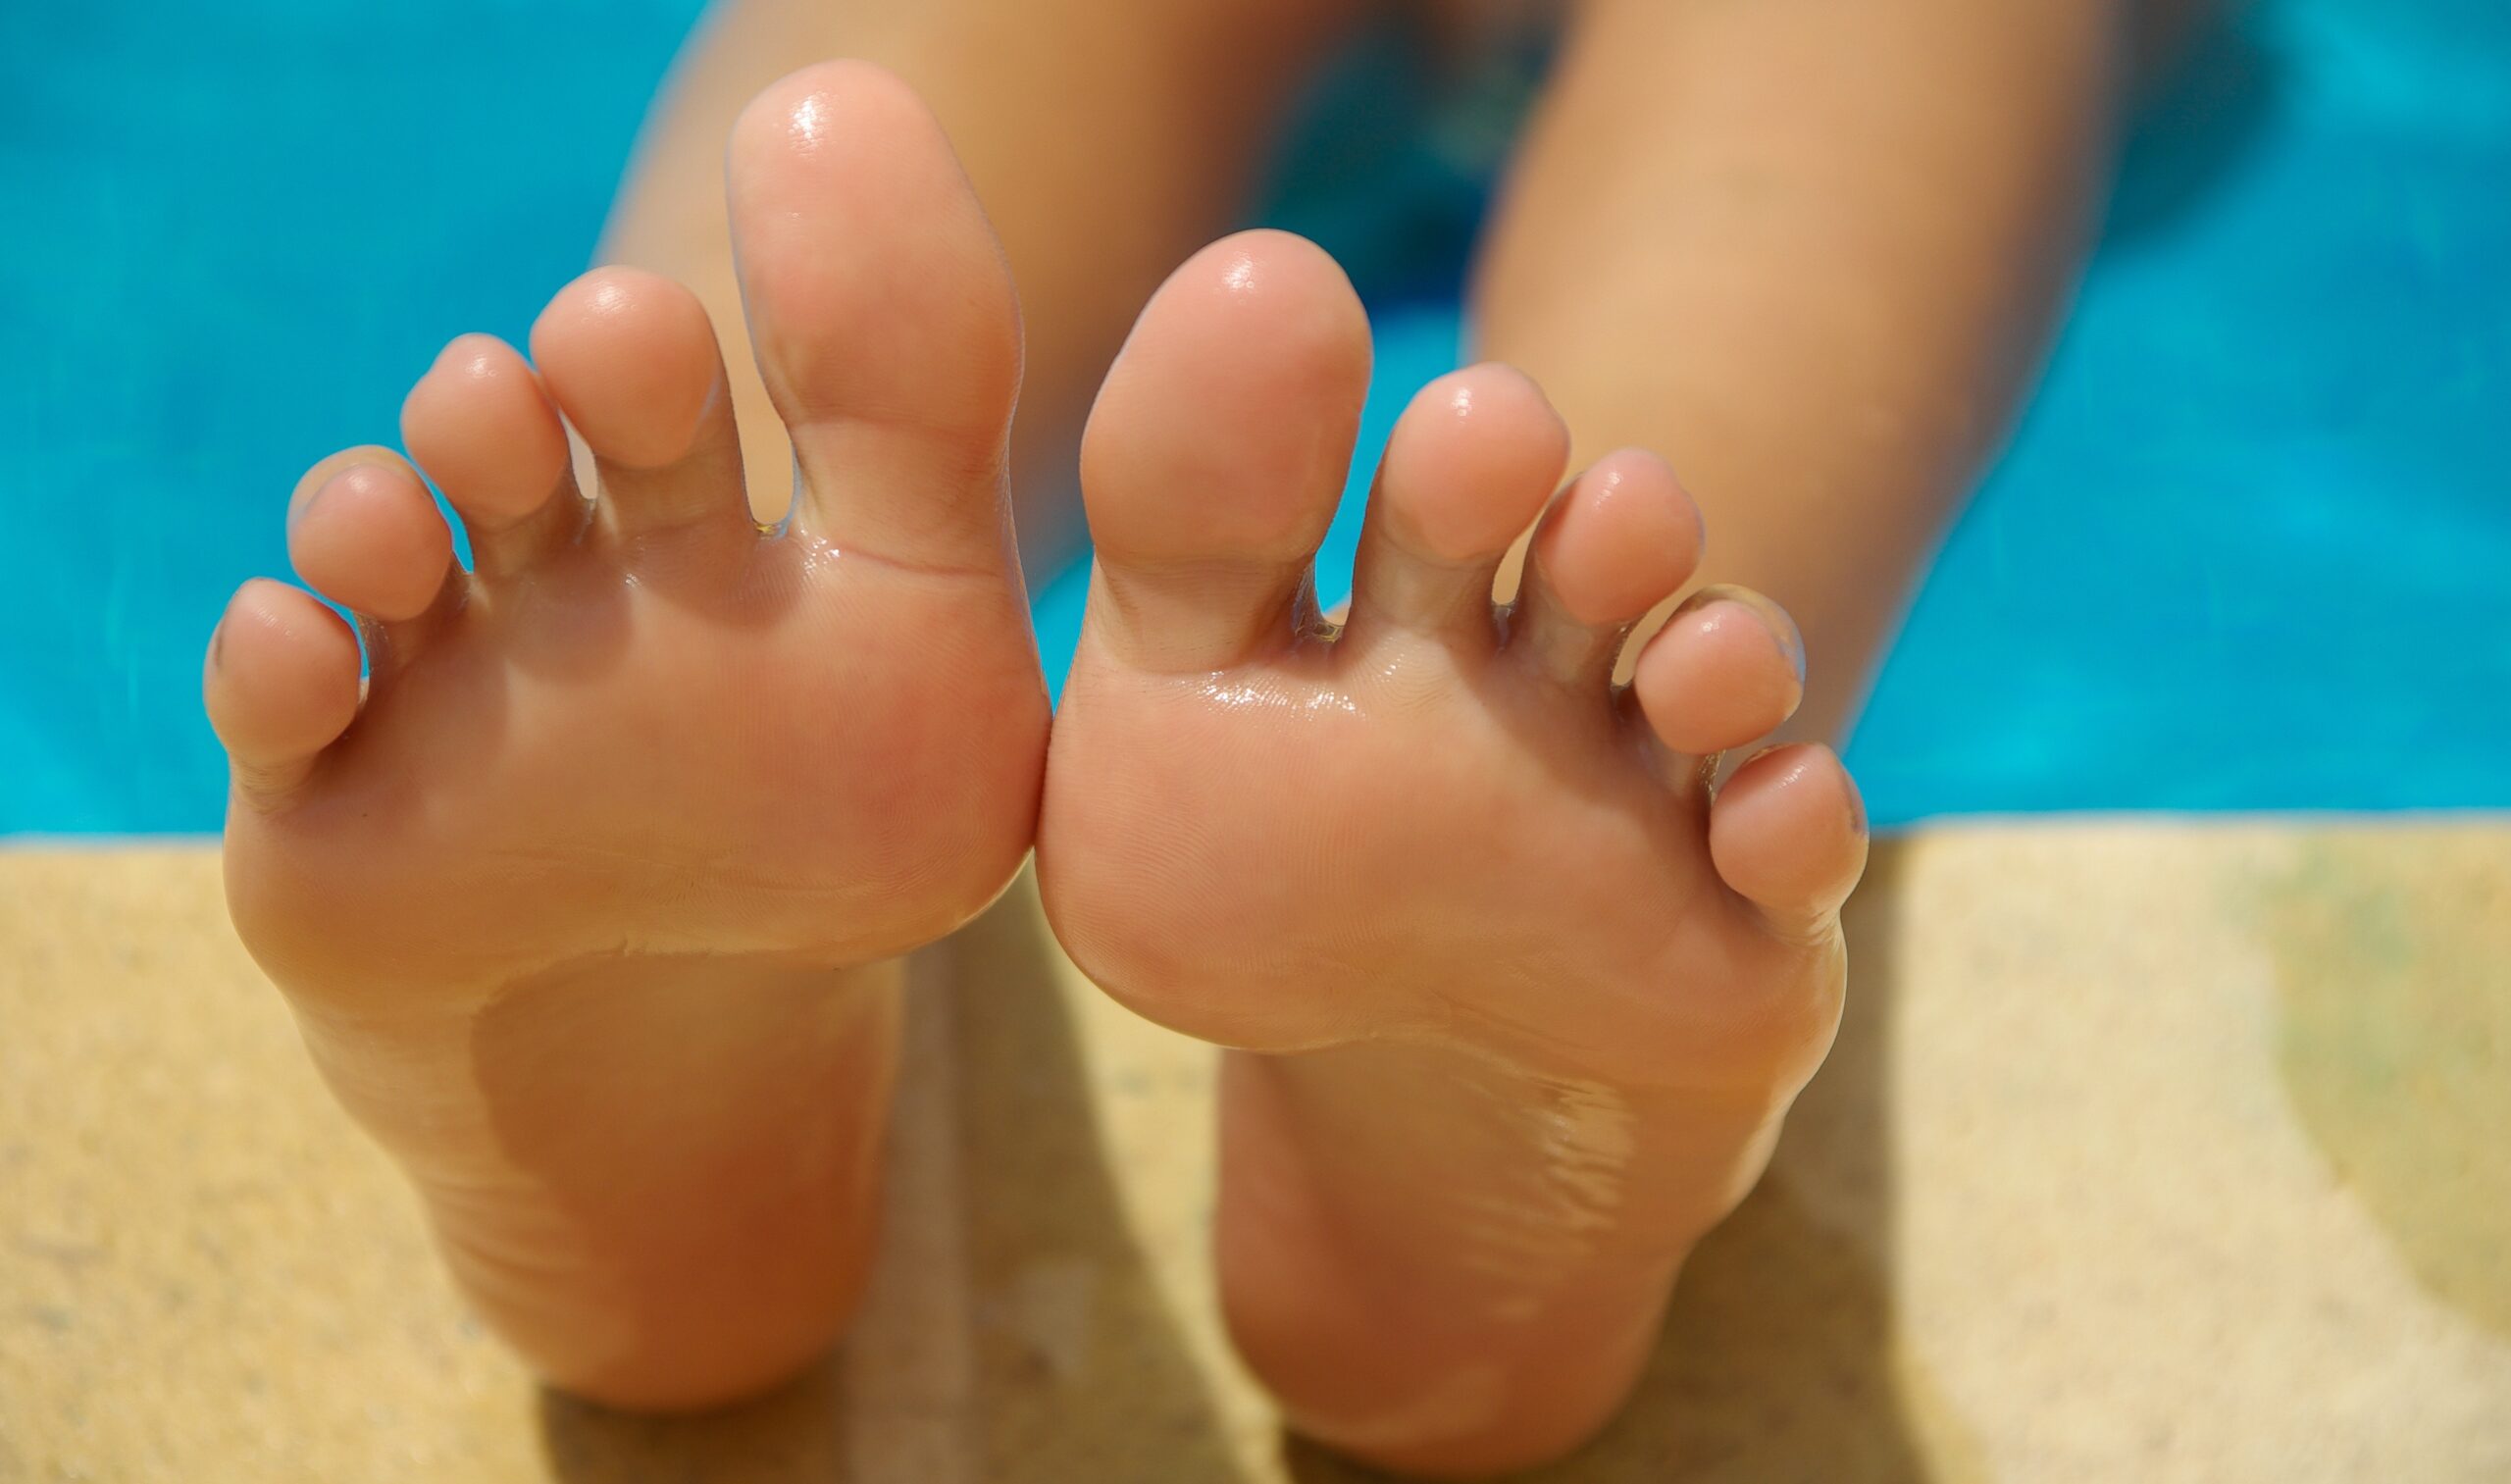
Oily feet content — glossy heels, oiled soles, wet-look finishes — is one of the most visually premium sub-niches in feet photography. The reflective surface photographs at a higher perceived value than plain skin, which gives sellers more pricing leverage and attracts buyers who pay specifically for the aesthetic.
The technique comes down to three things: the right oil in the right amount, directional lighting that captures the reflective surface effectively, and a clean background that keeps the shine as the focal point.
The appeal of oily feet content isn’t complicated once you understand what buyers are responding to. A well-oiled sole under directional light produces highlights and shadows that plain dry skin simply doesn’t — every curve and contour becomes visible, and the reflective surface adds a visual richness that makes the image feel premium before a buyer has thought consciously about why. That quality reads as value, and value justifies price.
This guide covers why the oily feet niche has grown into a reliable income stream for specialised creators, which oils and techniques produce the best results, the most common mistakes that reduce image quality, and how to build a sustainable catalogue around this aesthetic.
Why Oily Feet Content Commands a Premium
Oil creates a reflective layer that amplifies every contour of the foot — the arch line, the heel edge, the space between toes. Buyers who value this level of visual detail will pay significantly more per piece than for comparable dry-skin content.
The glossy aesthetic is widely associated with professional spa and editorial photography. Buyers read oily feet content as more polished and intentional than standard content — which directly supports pricing at the upper end of the category range without buyer resistance.
Different oils produce noticeably different finishes — from the high-gloss of baby oil to the warmer, more textured shine of coconut oil to the satin look of massage oil. A single creator can offer meaningful content variety without changing anything except the product being applied.
Oil transforms how light interacts with the skin. Reflections become active and directional; highlights shift as the angle changes. This makes oily feet photography more technically interesting to shoot and more visually engaging for buyers who appreciate that kind of image quality.
A well-oiled, shiny foot reads as clean and well-maintained — the oil application itself communicates that effort went into the image before the camera was picked up. This aligns with what buyers in the premium segment of the market specifically look for.
Buyers who want oily feet content frequently have specific preferences — a particular oil, a specific finish level, a certain angle that showcases the reflection. This specificity drives custom requests that command meaningful premiums over standard catalogue pricing.
Choosing Your Oil: What Each Product Does on Camera
The oil you use affects the visual outcome more than most creators expect. These are the three most commonly used options and how each performs under shooting conditions:
| Oil Type | Finish | Best For | Watch Out For |
|---|---|---|---|
| Baby Oil | High gloss, maximum shine, strong reflective surface | Buyers who specifically want the glossy, premium look. Best result under ring light or direct side lighting. | Can look greasy if over-applied. Use a light, even coat and check under your shooting light before capturing. |
| Coconut Oil | Natural, warm-toned shine with a slightly textured surface | Creators aiming for a natural or organic aesthetic rather than a high-gloss finish. Pairs well with warm lighting. | Solidifies at room temperature in cooler environments — warm between palms before applying. Absorbs faster than baby oil. |
| Massage Oil | Satin finish, less reflective than baby oil but more even | Spa-themed content and images where a softer sheen works better than a sharp highlight. Good for longer shooting sessions. | Absorbs relatively quickly — you may need to reapply during a longer session. Produces a subtler result than the other two options. |
There is no single best oil — the right choice depends on the aesthetic you’re building and the buyers you’re targeting. Testing all three in separate sessions and comparing the results under your standard lighting setup is the most reliable way to identify which works best for your specific content.
Photography Techniques That Make Oily Feet Sell
Oily feet photography isn’t simply about applying product and pointing a camera. The oil creates the potential for a premium image — the technique determines whether that potential is realised. These four elements are what separate effective oily feet content from content that underperforms despite looking right in person.
The reflective surface of oiled skin changes dramatically depending on the angle of both the foot and the light source. Close-up sole shots under side lighting show the most texture and contour detail. Top-down angles with frontal ring light create a symmetrical, high-gloss look. Side angles at foot level highlight the arch curve and produce the most editorial-style result. Each of these combinations produces a distinct visual with different appeal to different buyers.
Practical tip: Set your lighting first, then test each angle rather than adjusting lighting for each angle. Finding the one or two lighting setups that work best for your space and shooting style — then mastering those — is more effective than constantly repositioning.
The most common technical error in oily feet photography is too much oil in the wrong places. Pooling in toe creases or dripping along the heel edge looks greasy on camera rather than glossy — the distinction matters to buyers. An even, controlled coat across the entire surface — heel, sole, arch, and toes — produces a uniform shine without the visual noise of excess product.
Practical tip: Apply with clean, dry hands using a smooth spreading motion rather than dabbing. After applying, hold the foot under your shooting light and look for any areas where the oil has pooled. Blend these out before shooting — it takes under a minute and makes a significant difference to the final image.
The reflective surface of oiled skin draws the eye powerfully when there’s nothing competing with it. A busy or patterned background diffuses that visual pull and makes the image feel less premium regardless of how well the oil application or lighting is executed. The background’s job is to disappear — to give the eye nowhere to go except to the subject.
Practical tip: White or cream bedding, a plain wooden surface, a clean marble or tile floor — all work well. Spa-themed additions like a folded white towel or a clean bathtub edge add contextual interest without cluttering the frame. Check the background at full image resolution before uploading, not just on your phone preview.
A bottle of massage oil, a folded spa towel, a small dish of coconut oil — props that appear in the frame should tell a story about the image rather than simply filling space. The most effective props in oily feet photography are the ones that establish context (this is a deliberate, considered aesthetic) without drawing the viewer’s eye away from the feet themselves. Anything that competes for attention with the subject is a distraction rather than an enhancement.
Practical tip: If a prop isn’t adding meaning to the image, remove it. A single well-placed prop reads as intentional; multiple props read as cluttered. Less is reliably more in this niche.
The sequence that works: Set up your lighting and background before applying any oil. Apply evenly and check under your shooting light. Shoot immediately — oil absorbs and loses its peak shine within 15 to 20 minutes, depending on the product and your skin type. Have all camera settings and positions planned in advance so you can move efficiently once the oil is applied.
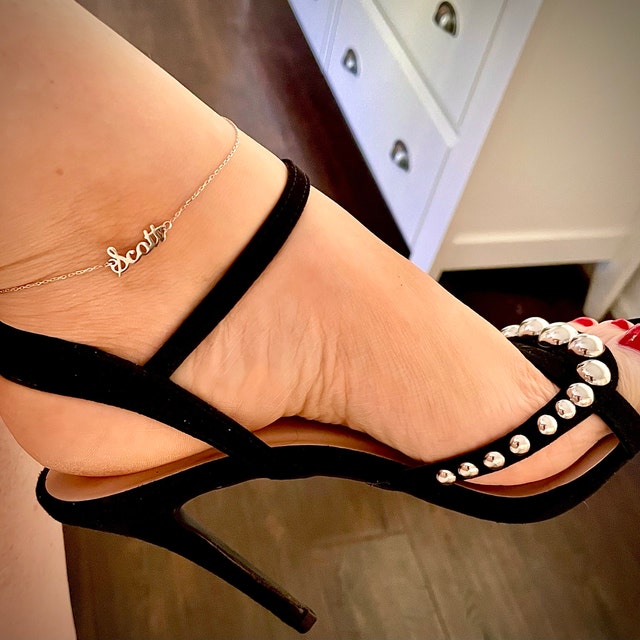
The reflective surface of oiled skin and the warm gold of a name anklet work together visually in a way that reads as intentional and premium. It’s the finishing detail that turns a good oily feet image into a memorable one.
Shop Name Anklets →Building a Catalogue That Attracts Repeat Buyers
Individual strong images drive single sales. A well-organised catalogue with a consistent aesthetic drives the repeat purchases and custom requests that produce stable monthly income.
- ✦Organise content by finish type and style. Separate galleries for high-gloss baby oil content, natural-finish coconut oil sets, and spa-themed massage oil images allow buyers to navigate to exactly what they want. Buyers who know their preference can find it immediately; buyers who are browsing are more likely to buy from a well-organised catalogue than a random feed.
- ✦Use accurate, searchable titles and descriptions. “Oiled soles,” “glossy heels,” “baby oil feet,” “wet-look finish,” “shiny feet close-up” — these are the phrases buyers in this sub-niche actually search for. Write descriptions that match the image accurately and naturally, without keyword stuffing that reads as spam.
- ✦Post on a consistent schedule. Three to four new uploads per week keeps your profile active on discovery feeds and gives returning buyers new content to find. Batch your oil application sessions — each session produces multiple viable images across different angles — to reduce preparation overhead.
- ✦Actively offer custom content. Buyers in the oily feet niche have specific preferences — a particular oil, a specific application style, a close-up of a particular area. State clearly in your profile that you take custom requests and include your base price. Custom orders in this niche reliably command higher prices than catalogue content.
- ✦Experiment with pricing. Oily feet content justifies pricing above the standard range for comparable dry-skin images. Test a price point that’s 20 to 30% above your usual rate for your strongest glossy content — buyers who specifically want this aesthetic are less price-sensitive than the general market.
- ✦Reply to messages quickly and professionally. Buyers asking about custom oily content often have a specific idea in mind and are deciding between a small number of creators. A clear, fast, professional response that includes a price and delivery estimate converts at a significantly higher rate than a delayed or vague reply.
Common Mistakes That Reduce Image Quality
- ✕Too much oil
Excess oil pools in creases, drips along edges, and produces a greasy rather than glossy result. Buyers can tell the difference immediately. A light, even coat is the standard — if you can see drips in the image, you’ve applied too much.
- ✕Wrong lighting setup
Overhead lighting flattens the reflective surface and makes oiled skin look flat rather than glossy. The shine needs to come from a directional source — side, front-angle, or ring light — to produce the dynamic highlights and shadows that make oily feet content visually compelling. No amount of oil makes up for the wrong light position.
- ✕Cluttered background
The glossy finish is the entire point of oily feet content. Anything in the frame that competes for the viewer’s attention undermines it. Check for distracting objects, busy textures, and personal items before shooting — these problems are much easier to fix before the session than after.
- ✕Inconsistent image quality within a catalogue
Mixing strong, consistently lit oily feet images with lower-quality shots in the same catalogue sends mixed signals about your standard as a creator. Buyers who visit your profile to assess whether to purchase will base their decision on the weakest images they see, not the strongest. Review before uploading and hold to a consistent standard.
- ✕Waiting too long to shoot after applying
Oil absorbs into skin — particularly coconut and massage oils — relatively quickly. The peak shine window is typically 10 to 15 minutes after application. Setting up your camera, tripod, and lighting before applying means you can move straight into shooting rather than losing your best light while getting organised.
- ✕Shooting on dry or poorly groomed skin
Oil amplifies everything about the skin’s surface — including rough patches, dry areas, and uneven texture. Well-moisturised, smooth skin reflects light evenly and produces a cleaner shine; neglected skin produces a patchy result regardless of oil type or quantity. A consistent skincare routine in the days before shooting produces noticeably better results. See our guide to getting soft feet in 7 days for a complete prep routine.