How to Avoid Low-Quality
Feet Images — and What to Do Instead
Low-quality feet images share the same seven problems: weak composition, low camera resolution, heavy editing, yellow colour casts, camera shake, dry skin, and not reviewing before uploading.
Each has a straightforward fix — most of them free. Image quality isn’t a talent issue. It’s a technique issue, and technique is learnable.
Buyers who pay consistently for foot content are paying for a feeling, and a blurry, poorly lit image interrupts that feeling before it starts. In a market where the technical barrier to entry is low — anyone with a phone can upload — the creators who earn reliably are the ones who’ve figured out that image quality isn’t optional. It’s the first filter buyers apply, often unconsciously, before they decide whether to spend.
The gap between a high-converting image and a low-converting one is rarely about the feet themselves. It’s almost always about one of the seven avoidable problems below.
7 Reasons Feet Images Look Low Quality
Randomly chosen angles and unintentional cropping are the visual equivalent of an unplanned photo. When the foot is cut off at an odd point, when the frame is tilted without purpose, or when the subject sits awkwardly in the image, buyers read it as a lack of care — even if they couldn’t articulate why. Composition signals whether a creator takes their work seriously.
Before shooting, decide on the angle deliberately. The rule of thirds — placing the foot slightly off-centre rather than dead in the middle — produces more visually engaging images than centred framing. Leave a small amount of negative space around the subject. Test two or three angles on the same shot and choose the strongest one rather than uploading the first take.
Old phone cameras and heavily compressed uploads both produce images that look fine at thumbnail size and fall apart when buyers zoom in — which they do. Detail in nail texture, skin quality, and fine features is what distinguishes a premium image from a mediocre one. If that detail isn’t there, the image can’t deliver what buyers in this niche are actually paying for.
Always use the rear camera, not the front-facing camera — the difference in sensor quality is significant on most phones. Shoot at the highest resolution setting available. When uploading, check that the platform isn’t compressing your files below an acceptable quality threshold, and avoid screenshotting images at any point in the workflow — screenshots reduce resolution every time.
Unedited photos can look flat. Heavily edited photos look artificial. Both underperform. The mistake most new creators make is treating photo editing as enhancement when it’s actually correction — the goal is to restore the image to what the eye actually saw in the room, removing any distortions introduced by the camera, not adding a stylised layer on top.
Limit editing to three adjustments: brightness (if the shot is too dark), clarity (to bring out skin texture), and white balance (to correct any colour cast). Avoid smoothing filters — they erase the skin detail that buyers are specifically looking for. A good benchmark: if you can tell an image has been edited, you’ve probably done too much.
Indoor artificial lighting — particularly warm-toned bulbs — produces a yellow or orange cast that reads as dirty or unhealthy rather than warm and inviting. It hides skin tone detail and makes the image feel lower quality than it is, regardless of how well the shot is composed or how the feet look in person.
Natural daylight near a window is the most reliable solution — it produces accurate skin tones with no cast and no cost. If shooting indoors under artificial light, set your phone’s white balance manually to match the light source, or correct the warmth slider in editing after the fact. A ring light with a daylight-temperature setting (5000–6000K) is the most consistent artificial option.
A blurred image is immediately disqualifying for most buyers. It signals that the creator doesn’t control the most basic element of their setup, and it destroys the fine detail — skin texture, nail edges, tattoo lines — that creates value in feet photography specifically. Blur from camera shake is the single most avoidable quality problem in this niche.
A tripod or flexible phone mount eliminates camera shake entirely and costs under $20. If shooting handheld, brace your elbows against your body, inhale, hold your breath briefly, and press the shutter at the moment of stillness rather than during movement. Use the phone’s timer or a remote shutter to avoid introducing shake at the moment of capture.
The camera captures everything a buyer would notice in person — and more. Rough skin, visible dry patches, unkempt cuticles, and chipped polish all read more obviously in a photograph than they do to the naked eye in a room. Skin that looks fine in casual daily life often looks noticeably rough on camera, which is why pre-shoot grooming is a separate step rather than an optional one.
Build a 10-minute pre-shoot routine: exfoliate lightly with a pumice stone, apply a generous layer of foot cream and massage it in, allow it to absorb fully, refresh nail polish if needed, and apply a light oil or lotion just before shooting for surface shine. Moisturised skin with a slight sheen photographs completely differently from dry skin — and the difference is immediately visible to buyers.
Images that looked fine on a small phone preview often reveal problems — slight blur, a distracting background element, an odd crop — when viewed at full size on a larger screen. Buyers see them at full resolution. Uploading without a proper review step means small, fixable problems make it into your catalogue and quietly damage buyer trust over time.
Before uploading anything, open the image at full resolution and zoom into the key areas: sharpness of the nail edges, skin texture on the heel and sole, background cleanliness. Check that the framing is intentional, the lighting is even, and the colour looks natural. This review takes under 60 seconds and is the final quality filter between your camera roll and your buyers.
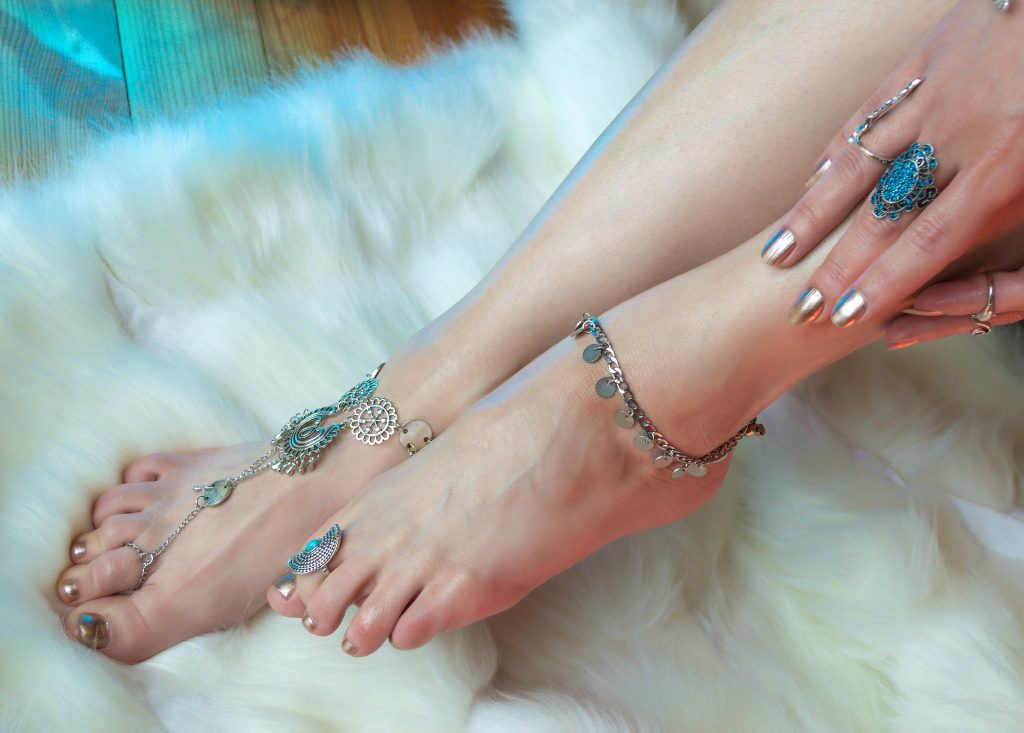
Every issue above comes down to the same thing: does this image look intentional? A clean, custom name anklet sitting well in frame does exactly that — it reads as effort, styling, and care in a single glance, which is the fastest way to lift perceived quality without touching your camera settings.
Shop Name Anklets →The underlying pattern: Most of these seven issues are solved by the same three habits — using a tripod, shooting in good light, and reviewing before uploading. Creators who build these into their standard workflow stop encountering quality problems entirely rather than fixing them image by image.
Pre-Shoot Checklist: Before Every Session
Run through this before each shooting session. Most quality problems can be caught and corrected in the two minutes before you take the first photo, rather than after you’ve already shot a full set:
- ✦Tripod or mount is set up and stable. Test it with one shot before beginning the full session.
- ✦Light source is confirmed. Natural window light, ring light, or corrected artificial light — no mixed colour temperatures in the same shot.
- ✦Background is clean and uncluttered. Nothing in frame that divides attention from the subject.
- ✦Skin is moisturised and groomed. Pre-shoot routine complete, oil or lotion applied for surface finish.
- ✦Nail polish is fresh or intentionally un-polished as part of the aesthetic. No chips, no smudges. If wearing an anklet or other jewellery, check it sits cleanly and isn’t tangled or crooked in frame.
- ✦Camera is set to maximum resolution and rear camera is selected.
- ✦White balance is set correctly for the light source — not on auto if shooting under artificial light.
- ✦Angle is chosen deliberately before shooting, not discovered by accident during the session.
- ✦Open at full resolution and zoom into the main subject area. Check sharpness at 100%.
- ✦Colour is natural. No yellow cast, no over-saturation, no grey or blue tint from mixed light.
- ✦Framing is intentional. Nothing cut off oddly, negative space is deliberate, subject sits where you meant it to.
- ✦Background is clean in the final image — no objects that crept into frame during shooting.
- ✦Editing is subtle. If you can clearly tell the image has been edited, reduce the adjustments.
- ✦File size is not over-compressed. Uploading at the highest quality setting the platform allows.